Appearance
Creating A New Part
INFO
Note: Parts can only be viewed and created by organizational users who have been granted relevant permissions
Step 1 - Open The New Part Popup
Head to the Parts Page via links available on the Left Navigation Bar.
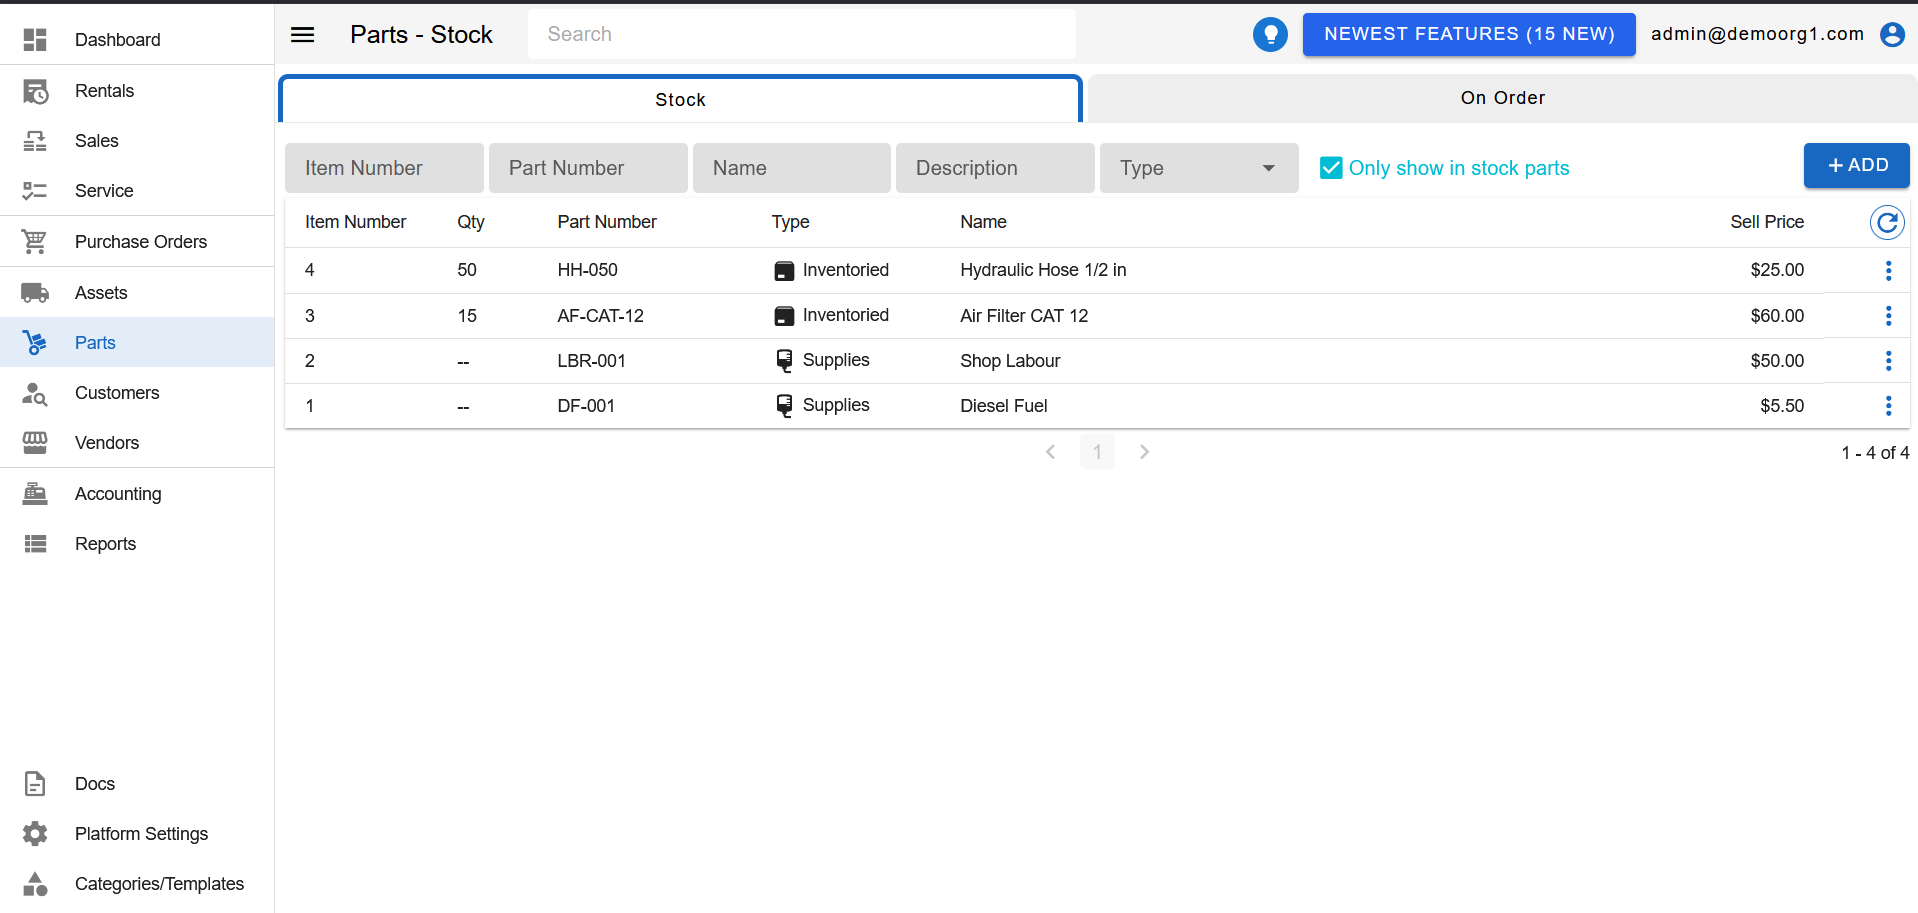
Visible towards the top right corner on the Parts Page is an + Add button. Click the button to open the New Part Popup
Step 2 - Provide Information On The New Part Popup
The New Part Popup features two different steps where relevant information needs to be provided
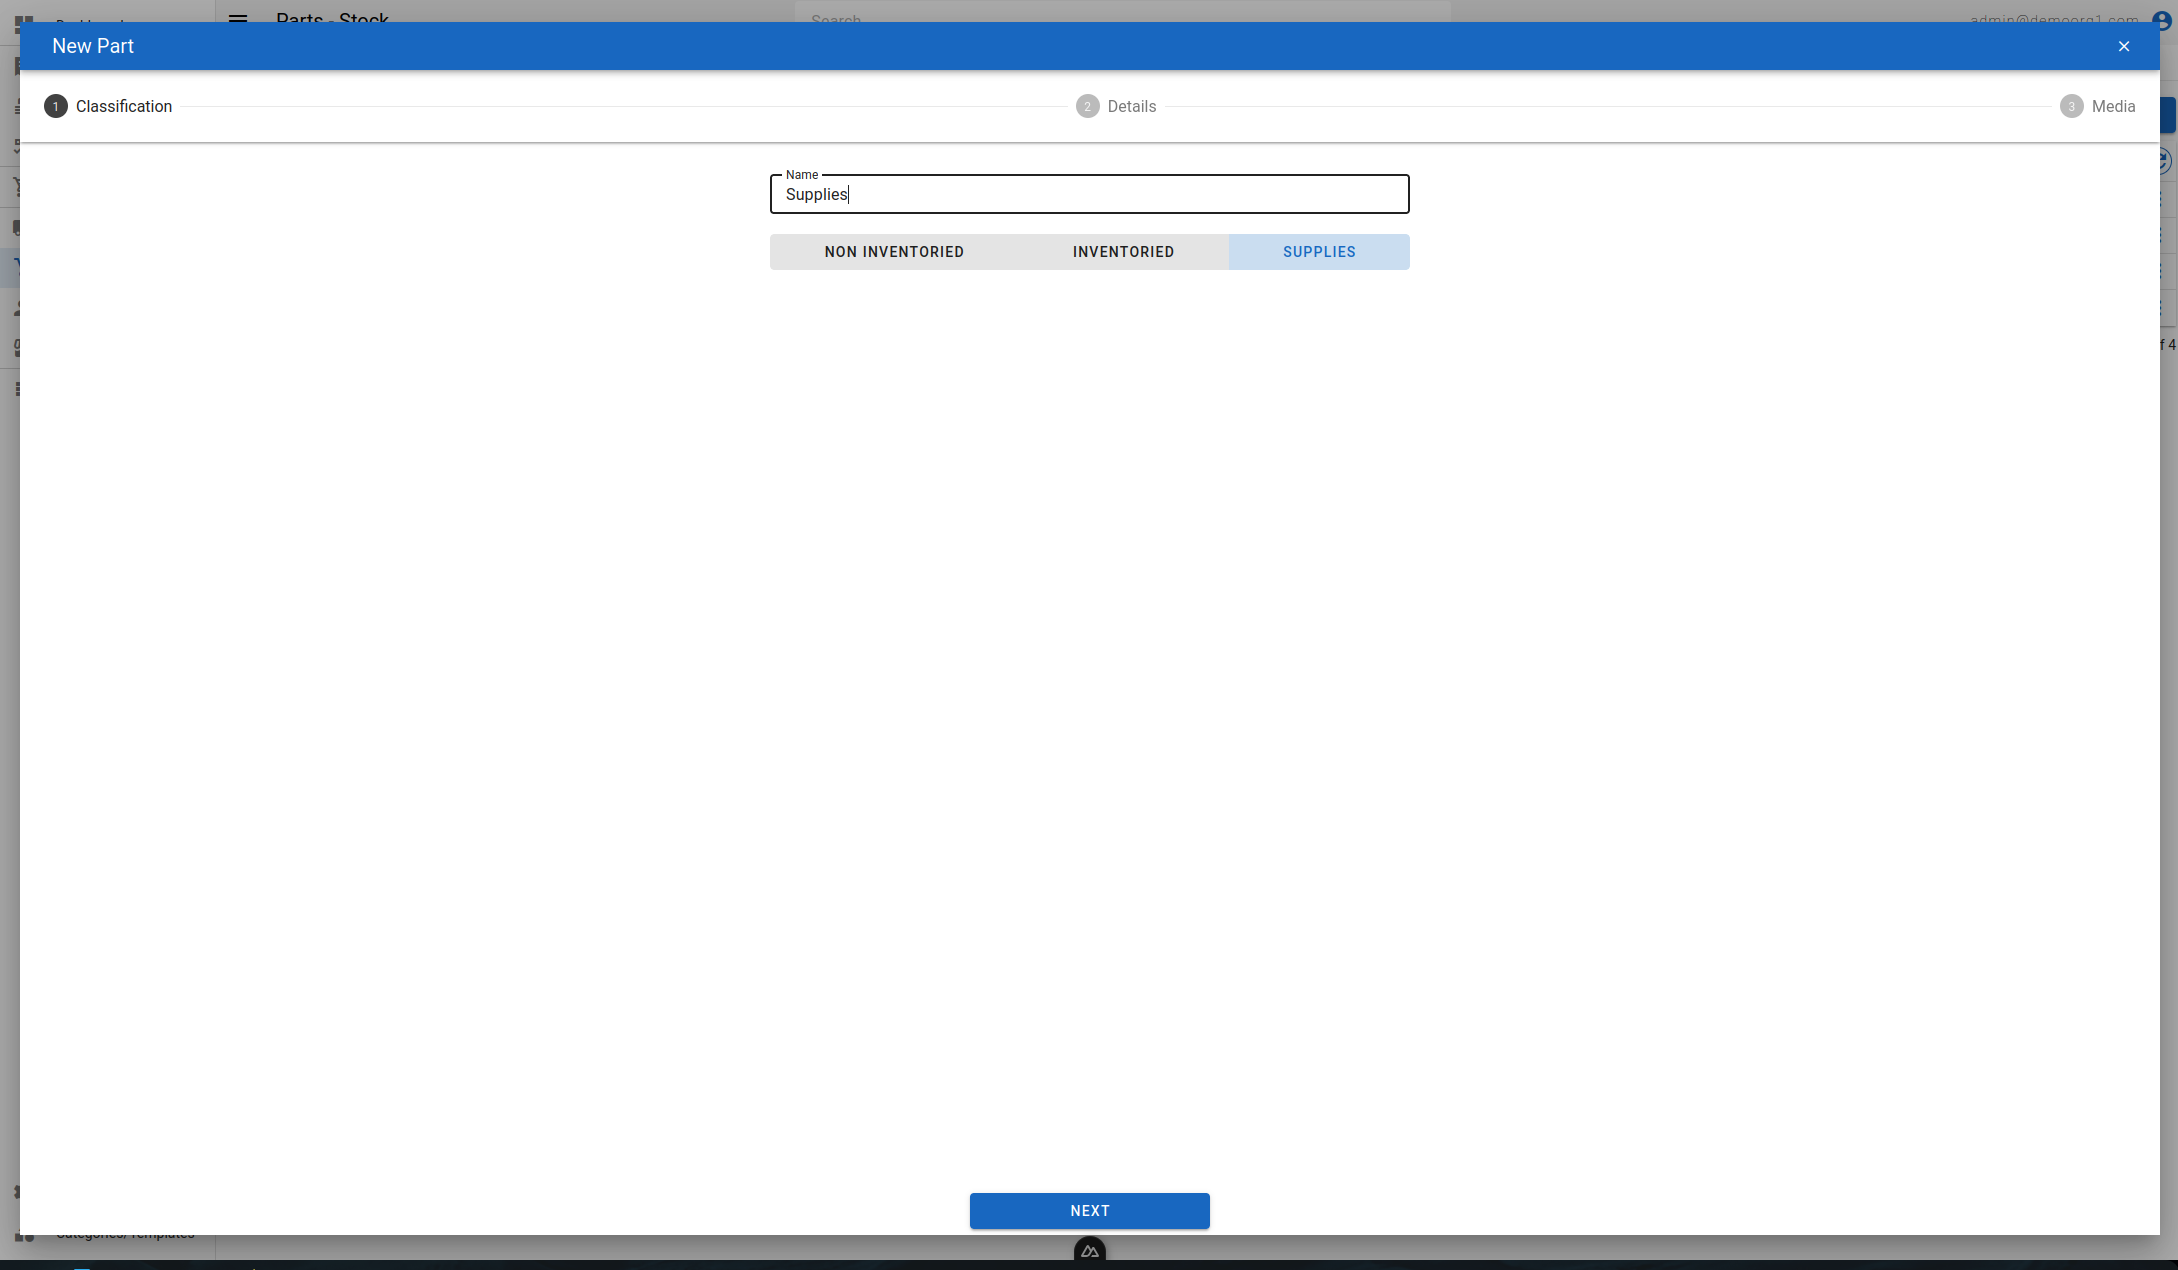
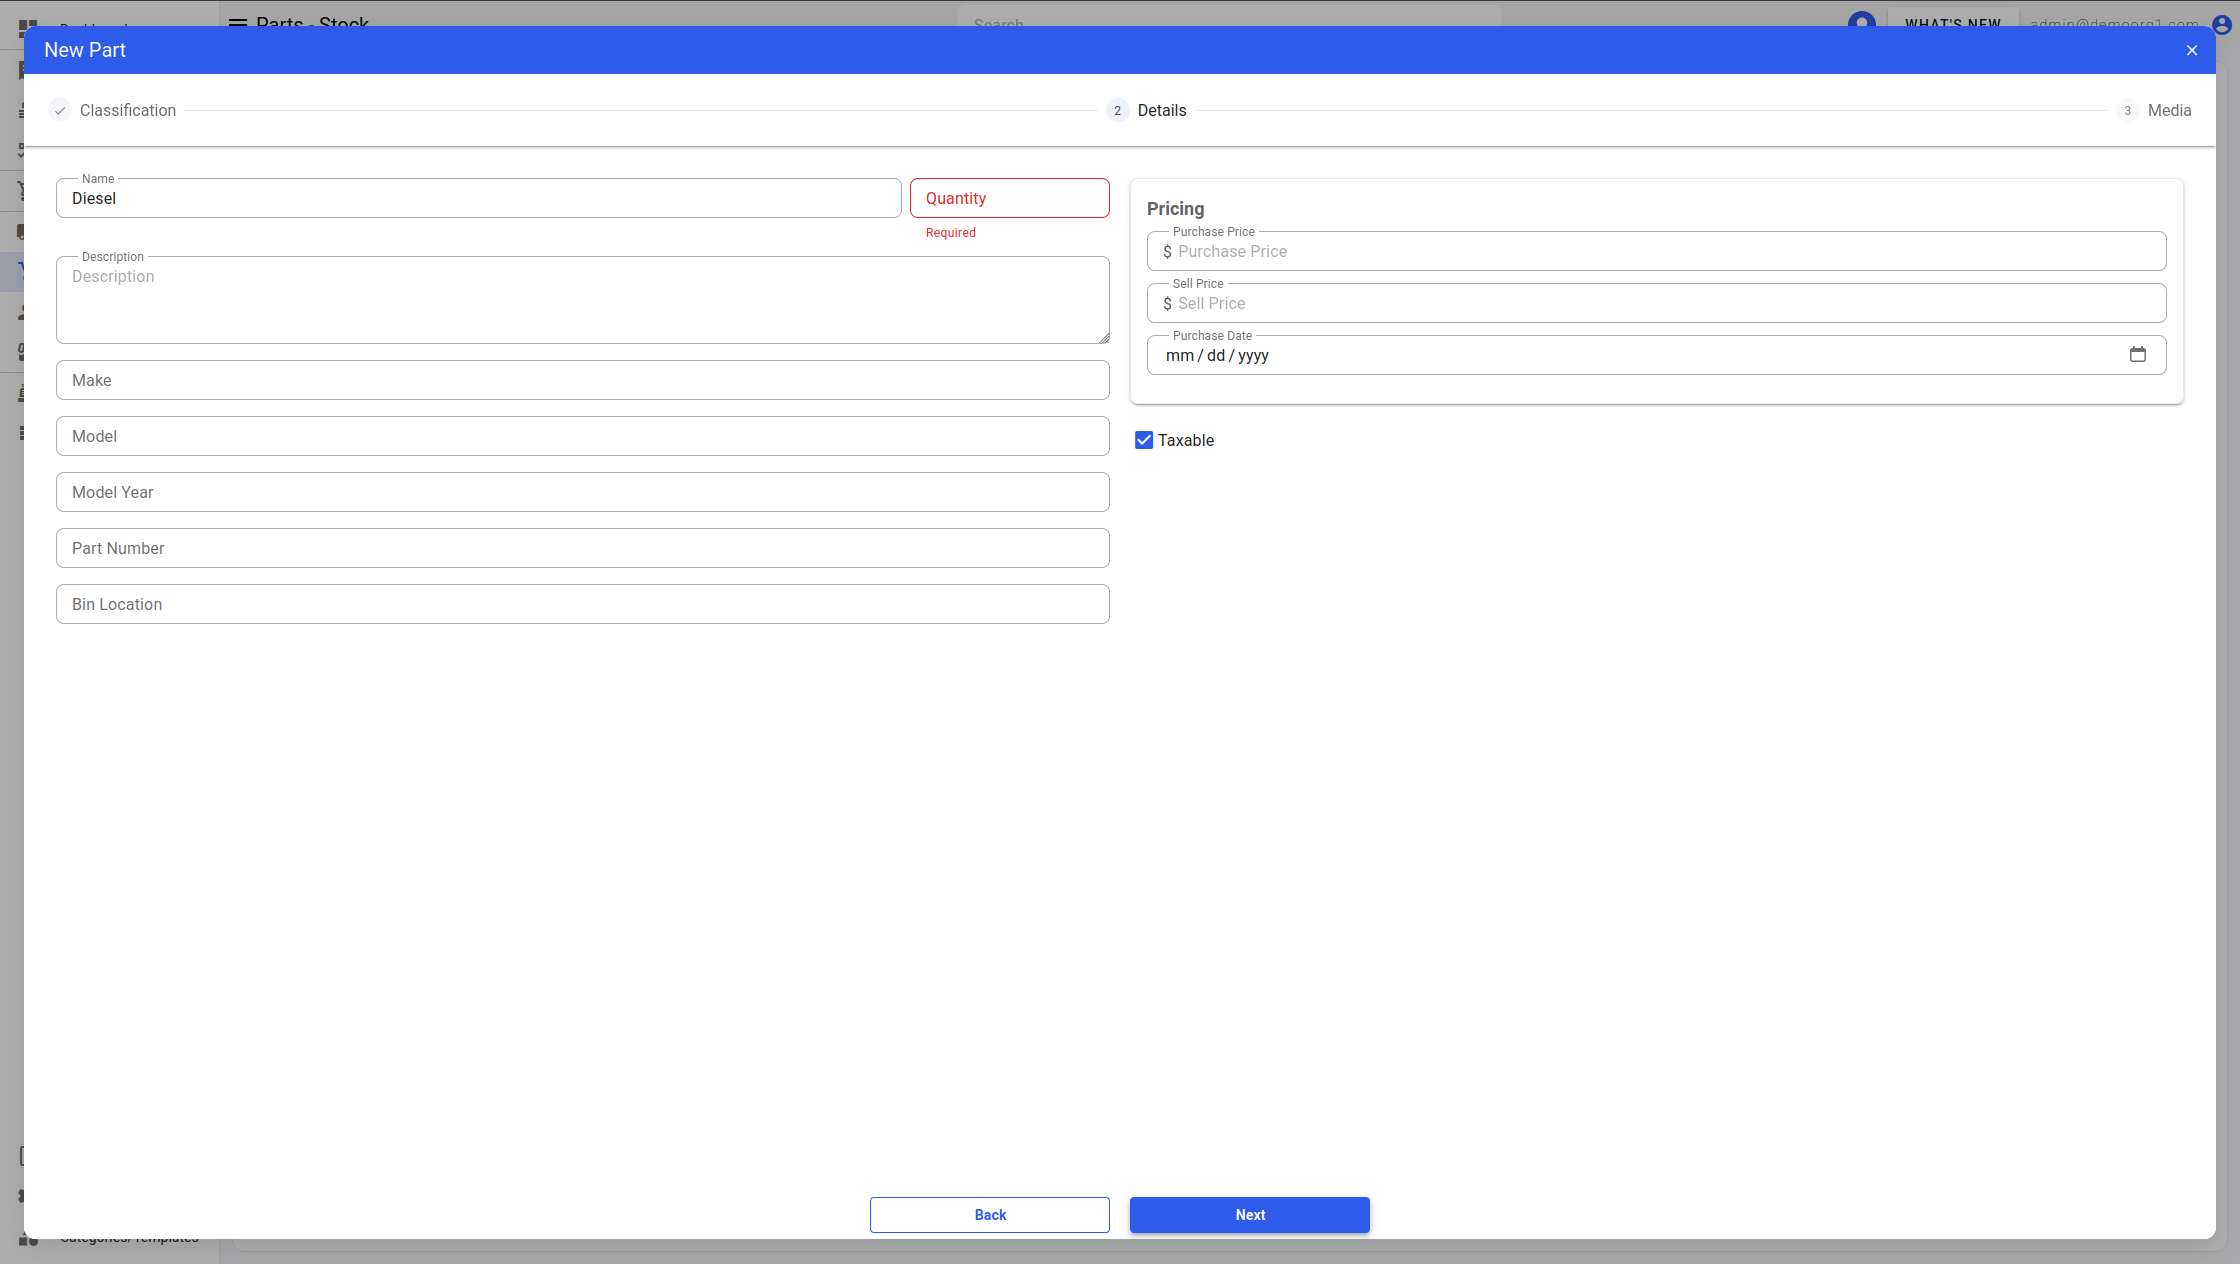
Fields highlighted in red are required fields. Fields highlighted in orange are fields that are required for validation. All other fields are optional.
Note: Consumable and Non-Consumable parts are treated differently within CloudERM, and hence will have different requirements for field validations.
Taxable
The last section of the form includes a Taxable checkbox that marks whether the part is taxable when it is charged to a customer. It is checked by default on every new part, including parts created from the New Part Popup while building a purchase order. Uncheck it for parts that should not be taxed. The same checkbox is available when editing a part (it is read-only for users without update permission).
Step 3 - Save Information
Once you have provided all necessary information, click on the Save button on the last section to submit information and have it stored into our database.