Appearance
Purchasing/Creating A New Asset
INFO
Note: Assets can only be viewed and created by organizational users who have been granted relevant permissions
Step 1 - Open The New Asset Popup
Head to the Assets Page via links available on the Left Navigation Bar.
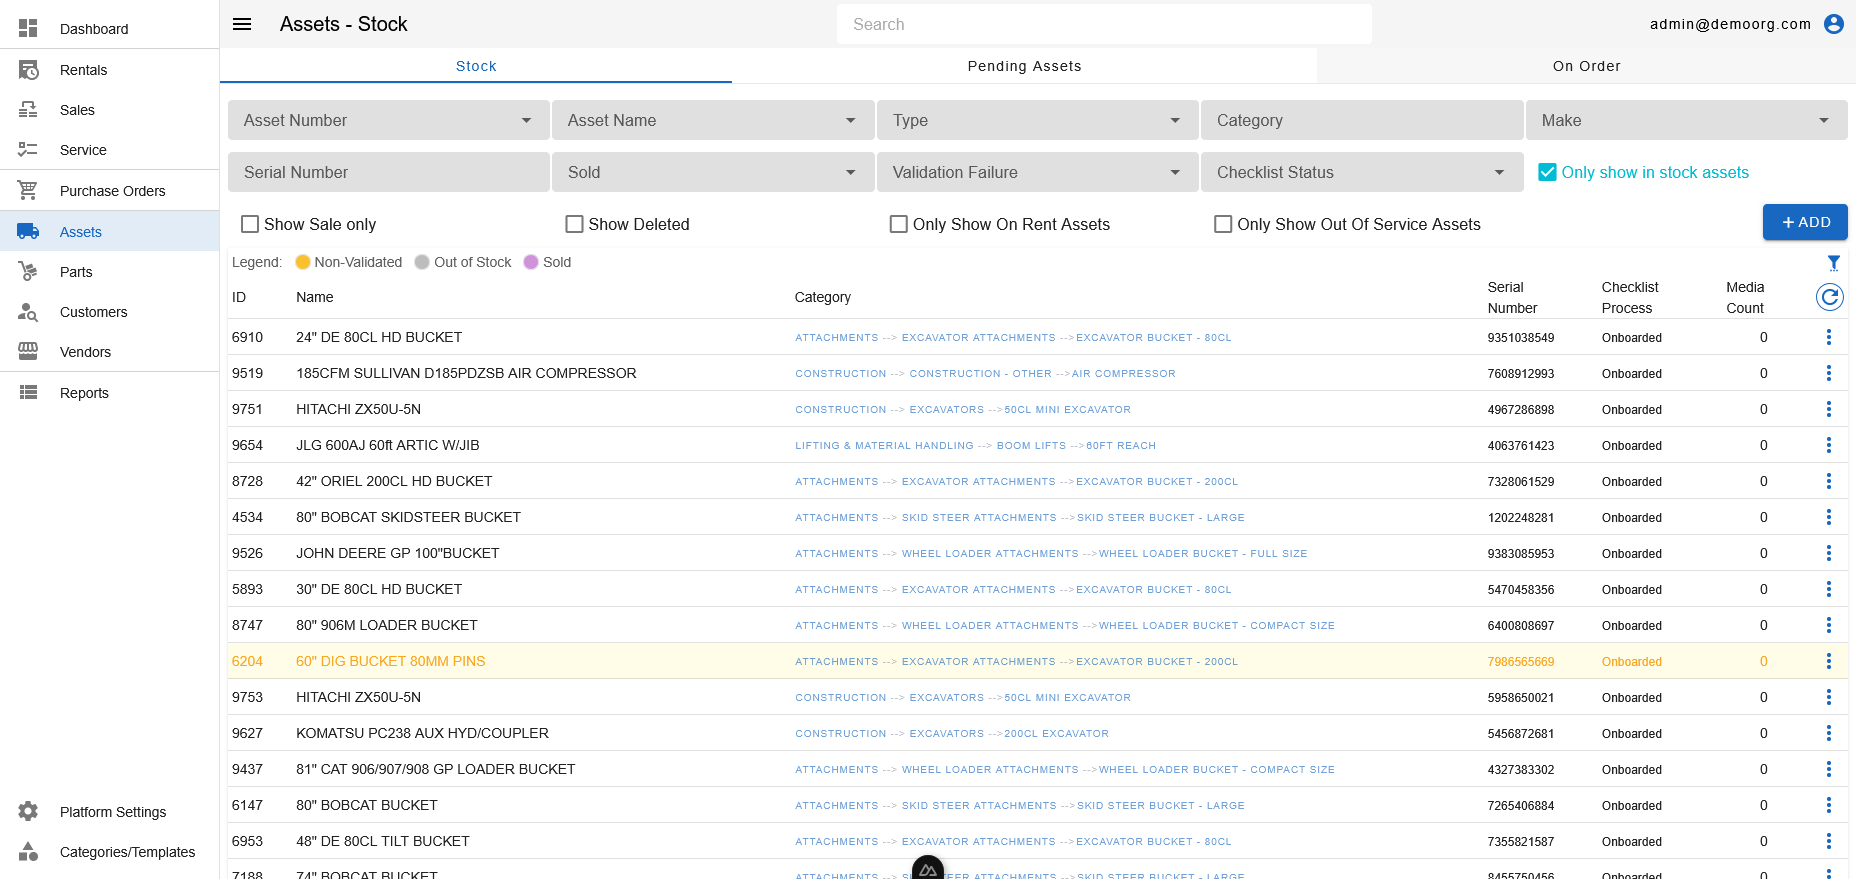
Visible towards the top right corner on the Assets Page is an + Add button that leads to the New Asset Popup. Click on the button to open the New Asset Popup
Step 2 - Provide Information On The New Asset Popup
The New Asset Popup is a four-step wizard. Each step has its own form; use the Next button at the bottom to advance, and Back to return to the previous step. The final step shows a Save And Open button instead of Next.
- Classification — select the asset's category from the category tree. The category drives which Asset Details fields appear in step 3. A Show Hidden Categories checkbox sits beneath the category picker; tick it to include categories that are normally hidden. Selecting a hidden category prompts a confirmation — "Creating an asset against a hidden category will automatically un-hide it on asset creation. Are you sure you want to select this category?" — click Yes, Select to proceed (the category is un-hidden when the asset is created).
- Details — provide identifying information for the asset (name, serial / VIN, etc.). The Asset Number is a plain text field (there is no suggestion dropdown): it shows the next auto-generated number as a placeholder with a Use chip you can click to accept it, or you can type your own (letters, numbers, dashes and periods; entered in upper case). As you type, the number is checked against existing assets — an available number is shown in green with an "is available" message, while a duplicate shows "Asset with this number already exists". The check is also re-run when you click
NextorSave And Open, so a number typed just before clicking cannot slip through. This step includes an optional PO Number field (disabled once the asset is linked to a purchase order) and a Purchase Details section under Pricing, where the purchase cost is entered as line items — each with a Type (Unit Price / Shipping / Other), Description, and Cost. Use Add Item to add rows; the Total Purchase Price is the sum of the line items. Purchase details are optional by default, since they are often unknown when an asset is first created. However, if your organization's field settings make Purchase Price a required field, at least one purchase detail line item is required to save (an empty list shows "Purchase price is required. Add at least one purchase detail item."). See Purchase Details for more. This step also has an Hour Meter field, which stays disabled until you tick the checkbox beside it to say the asset has one — only then is a reading required. - Asset Details — fill in the category-specific fields inherited from the chosen sub-category's Asset Details form template.
- Media — optionally attach photos or documents to the asset.
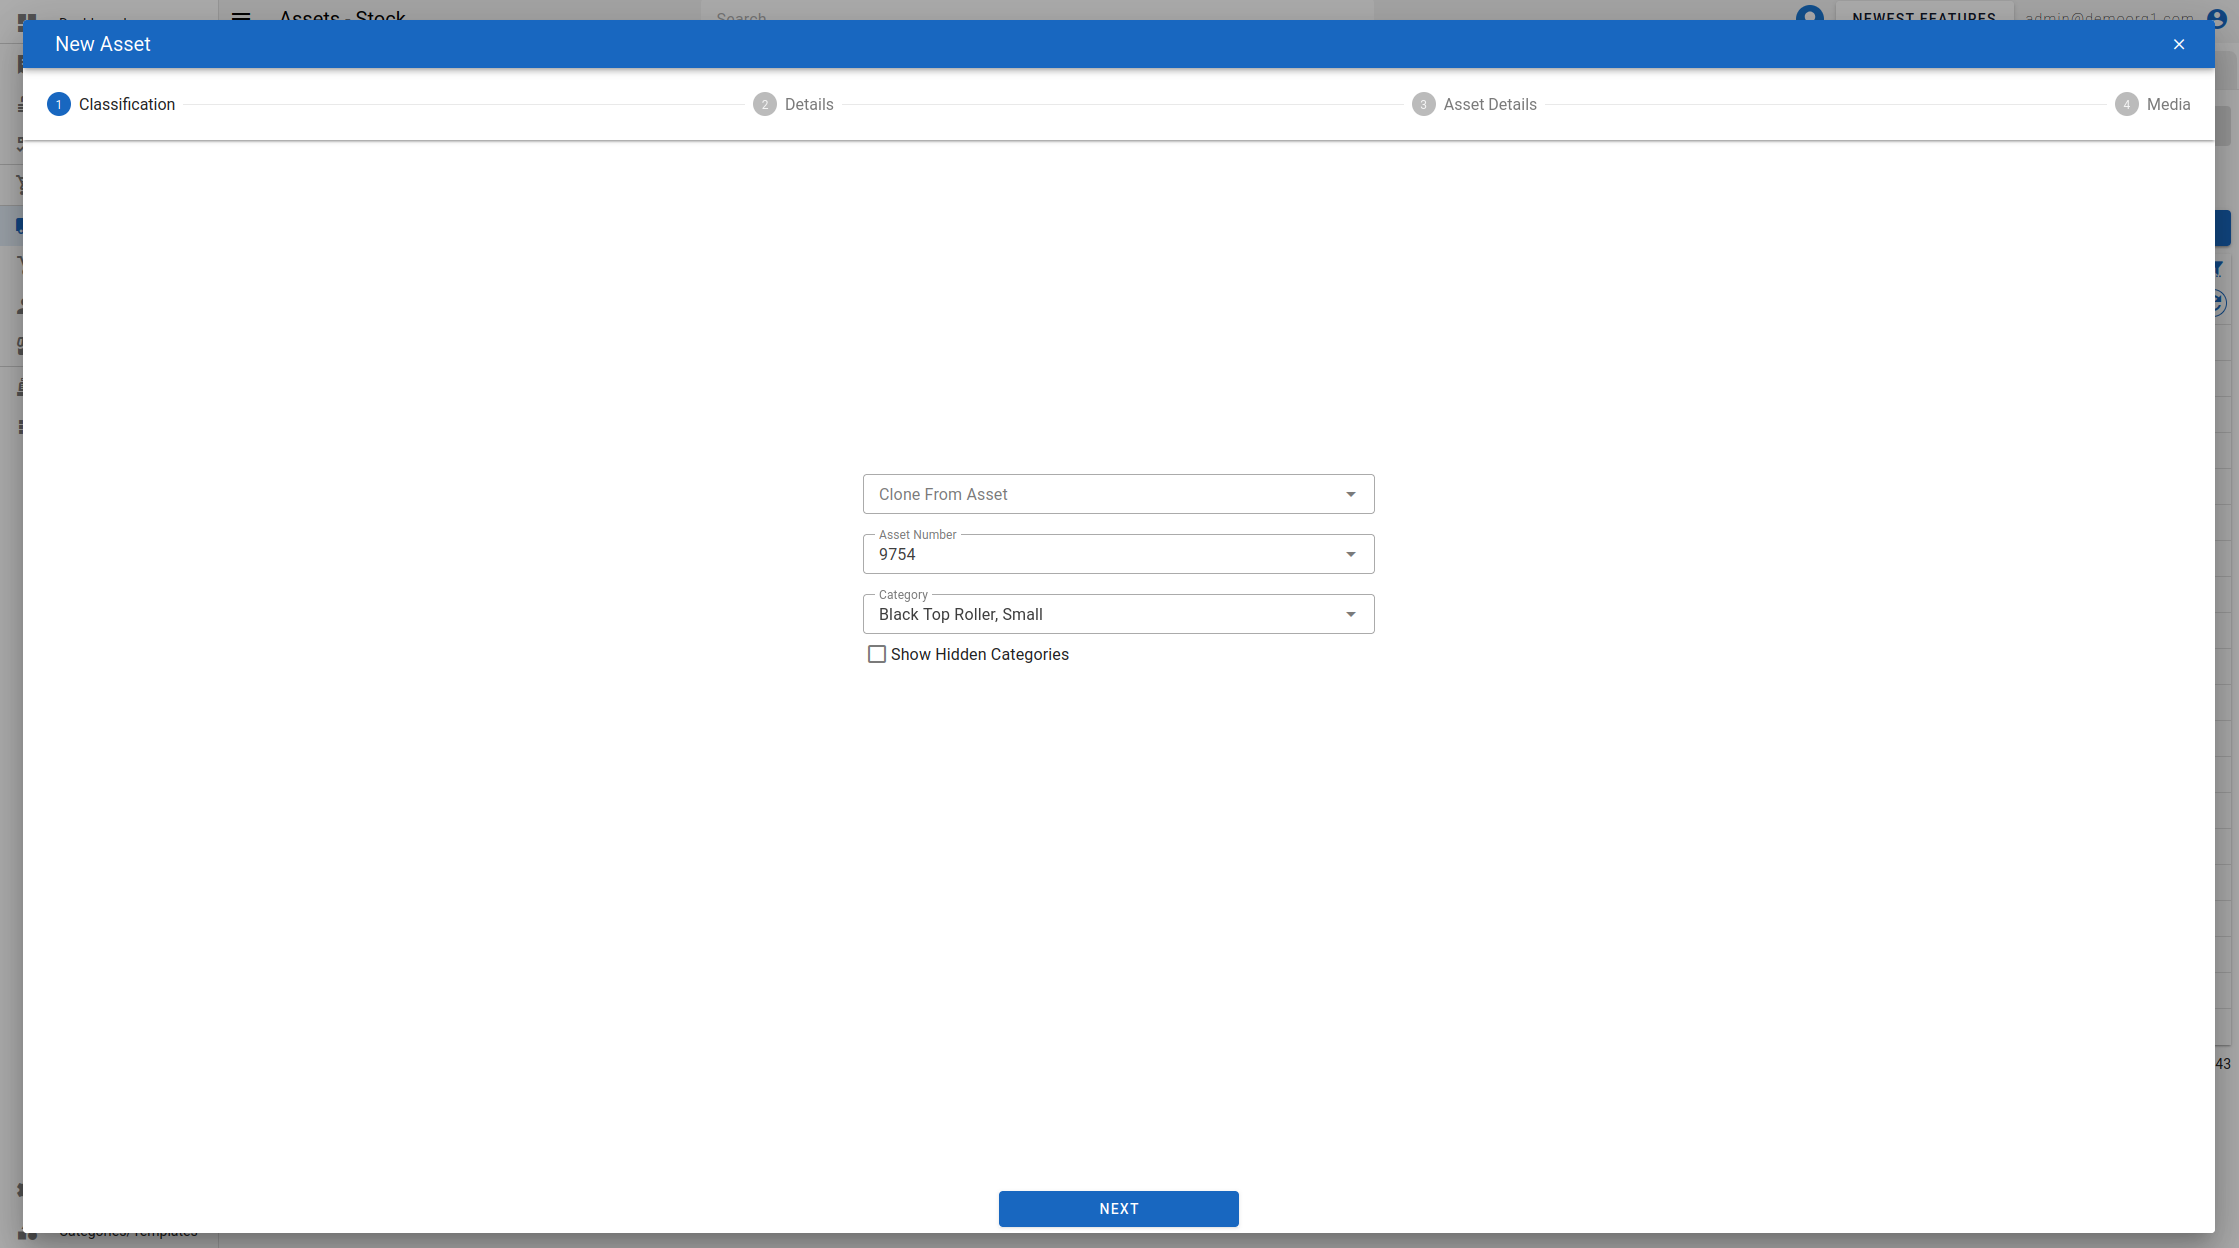
Fields highlighted in red are required fields. Fields highlighted in orange are fields that are required for validation. All other fields are optional. Clicking Next (or Save And Open) on a step with a missing or invalid field scrolls to it and highlights it in red, rather than silently doing nothing.
To streamline the creation process, user can choose to clone data fields from an existing asset, by selecting an asset in the 'Clone From Asset' field. (You can also start this flow from the Assets Table's Clone row action, which opens the New Asset Popup pre-seeded from that asset.) Exactly which fields are carried over from the source asset is controlled by your organization's Asset Cloning settings — anything not enabled there starts empty (or at its default), and the clone always gets a fresh asset number.
Step 3 - Save Information
Once you have provided all necessary information, click on the Save And Open button on the last section to submit information and have it stored into our database. Depending on your organization's settings, you may first be prompted with a Confirm New Asset Detail Checklist dialog asking "Do you also wish to create a New Asset Detail Checklist against this asset?" (see New Asset Detail Checklist), followed by a prompt to confirm if you wish to create an on-boarding work order against the asset. Once input is provided on the prompt(s) and information is successfully saved, you will be redirected to the newly created asset's Checklist Popup