
Appearance
Viewing and Searching Work Orders
INFO
Note: Work orders can only be viewed by users who have been granted relevant permissions
The Service page is organized into tabs: an All Work tab, a Work Order Invoices tab, a Work Timeline tab (see Work Timeline), and any saved-filter tabs you create (see Saving Filters). New work orders and inspections are started from the Create menu (see Creating A Work Order and Creating Stand-Alone Inspections).
The table features several filters atop it, that allow filtering the list. The Work Type filter narrows the table by type — including Dispatch Inspection, Off Rent Inspection, Independent Inspection, Sale Inspection, and New Asset Detail Checklist — so asset-sale inspections and New Asset Detail Checklists appear here on the Service page alongside your other work orders and inspections (see Inspecting Assets → Sale Inspection). The Order Linkage filter narrows the table to work orders/inspections that are Part of an Order or Standalone (not attached to any order); it defaults to Show All.
INFO
The Purchase Inspection type has been retired and replaced by the New Asset Detail Checklist — see New Asset Detail Checklist (NADC).
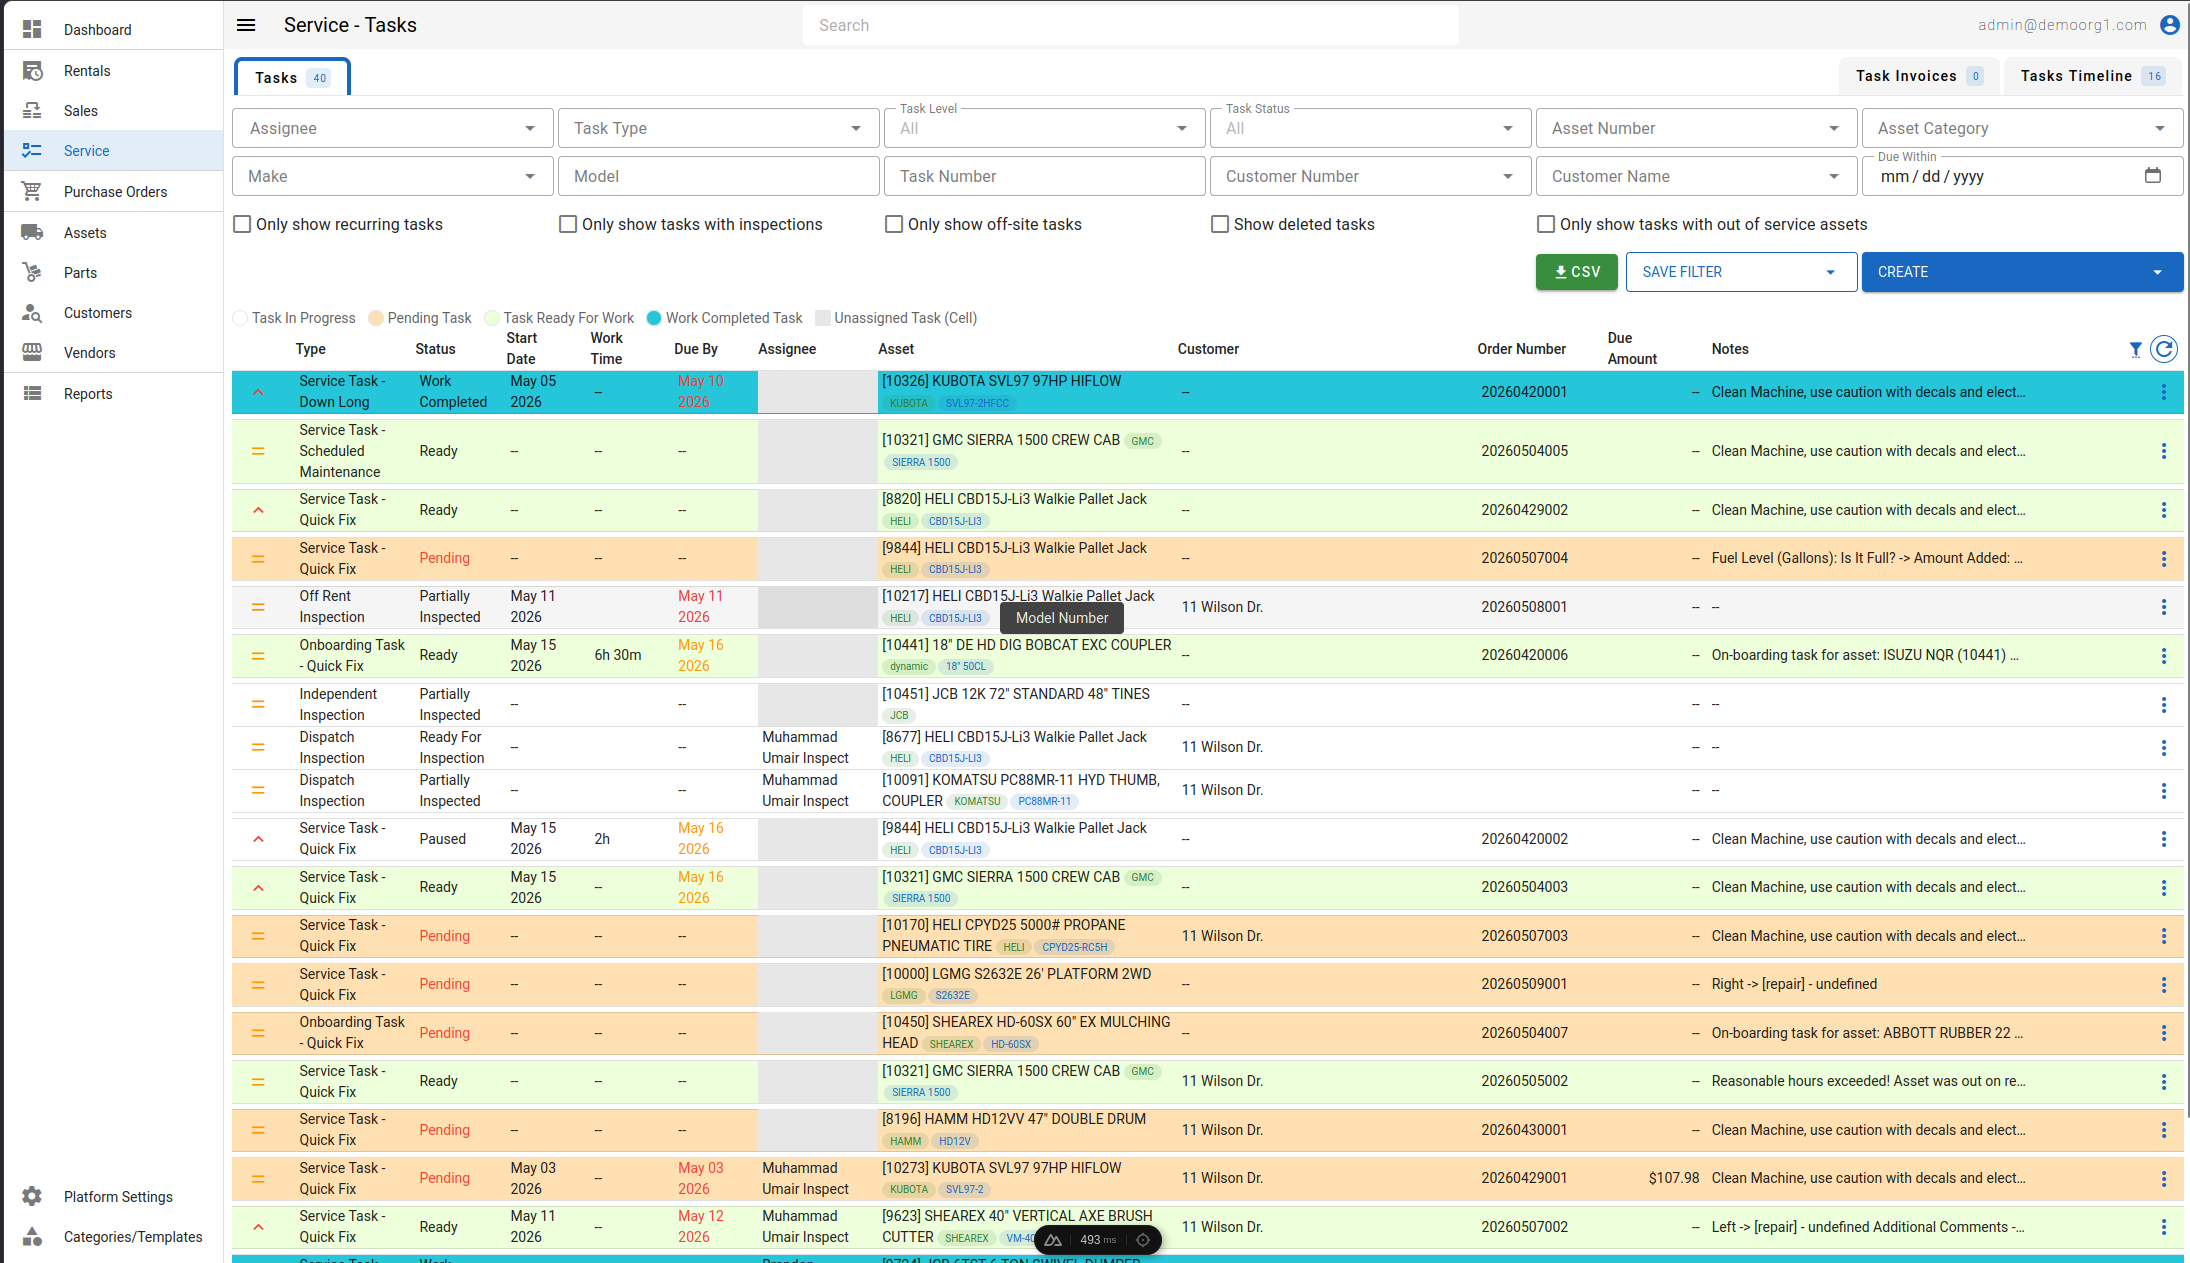
The table follow a user defined color scheme for rows to make it easier to identify the work's current condition. The color scheme's legend is visible atop the table, underneath filters. Additionally, statuses such as Allocation Failed and Pending are shown in red.
All work orders/inspections are grouped under the order number they were created against (unless there is only one against an order number).
A row that is currently blocking its parent order from closing (or, for closed contracts, from completing) shows a red Blocking <order number> chip under the order number.
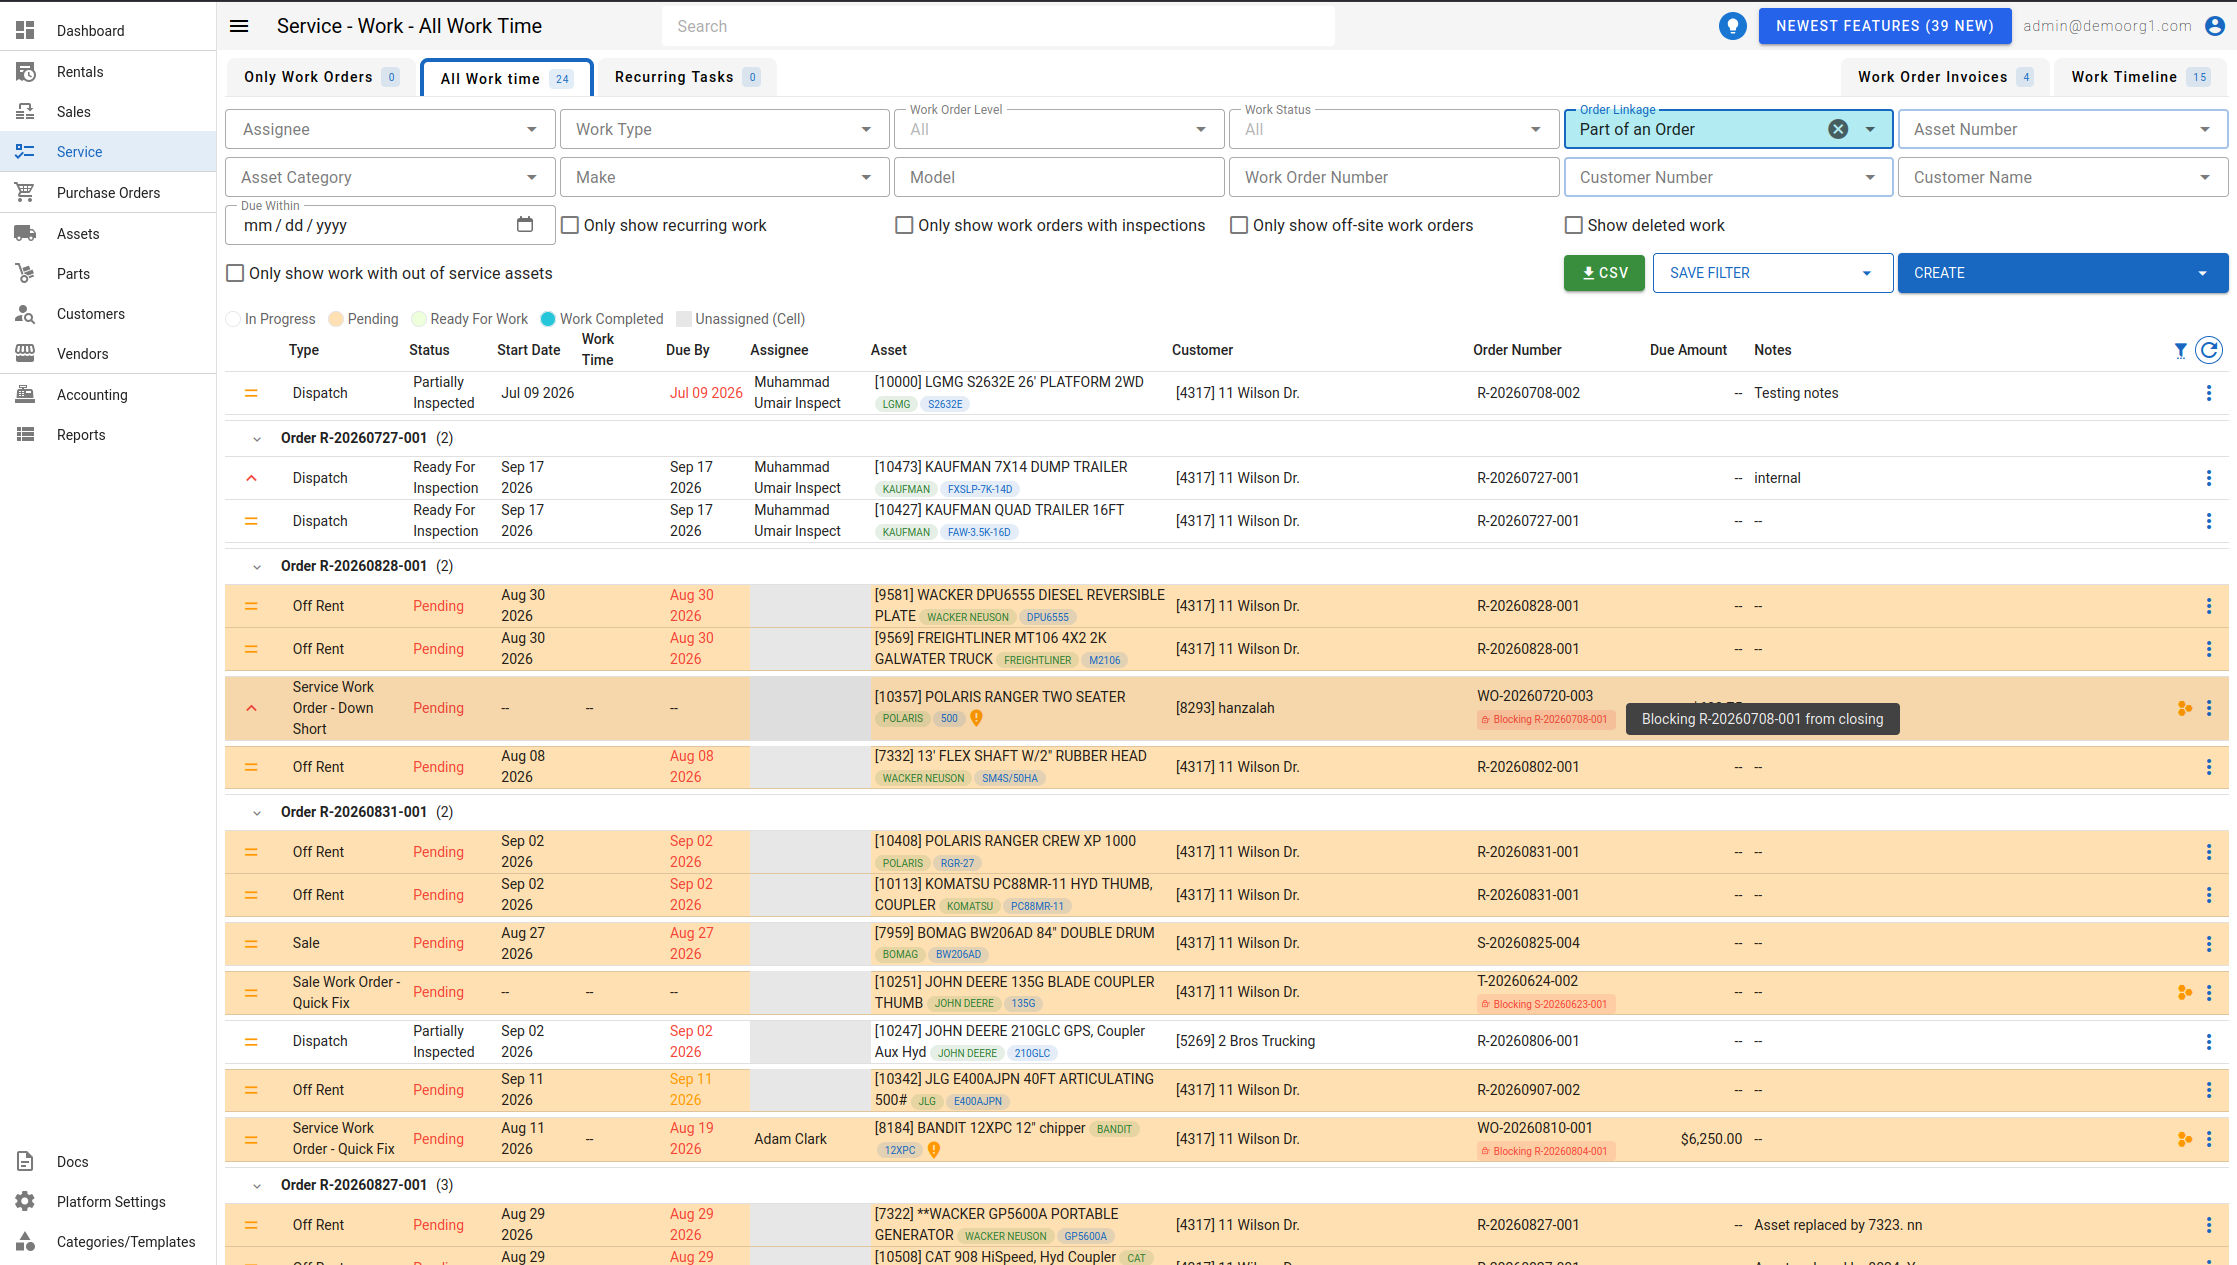
Hovering the chip shows a tooltip explaining what it is blocking (for example "Blocking WO-1234 from closing" or "...from completing", depending on the parent order's status). Clicking the chip opens that parent order.
The table features several columns that display information. The last column's header on the table features a refresh button to update the table. Clicking on some of the column headers allow sorting on that column.
INFO
When you follow a "pending work orders" link from an asset elsewhere in CloudERM (for example from a dispatches popup or an order asset row), the Service page opens pre-filtered to that asset's Pending work orders.
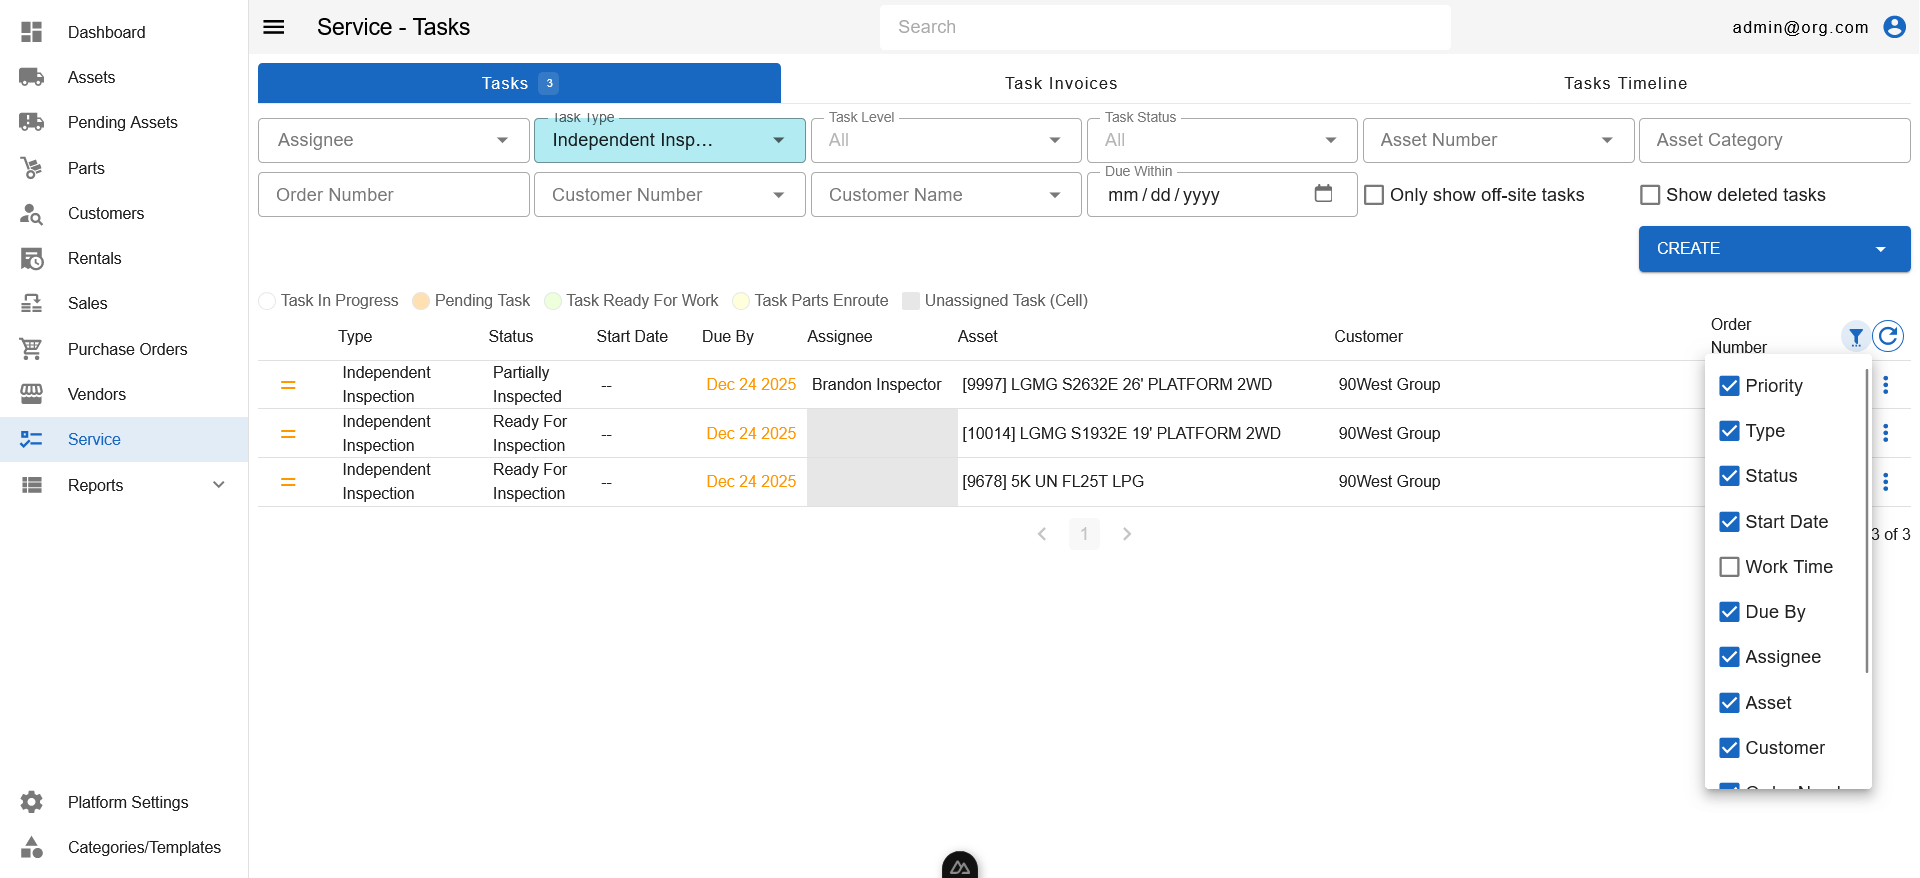
Visible columns can be altered using the column settings menu, accessible via the filter settings button on the top right corner of the table.
When Samsara GPS is enabled for your organization, a View Telematics GPS icon (crosshair) appears against a work order's asset; clicking it opens that asset's Telematics tab in a new tab.
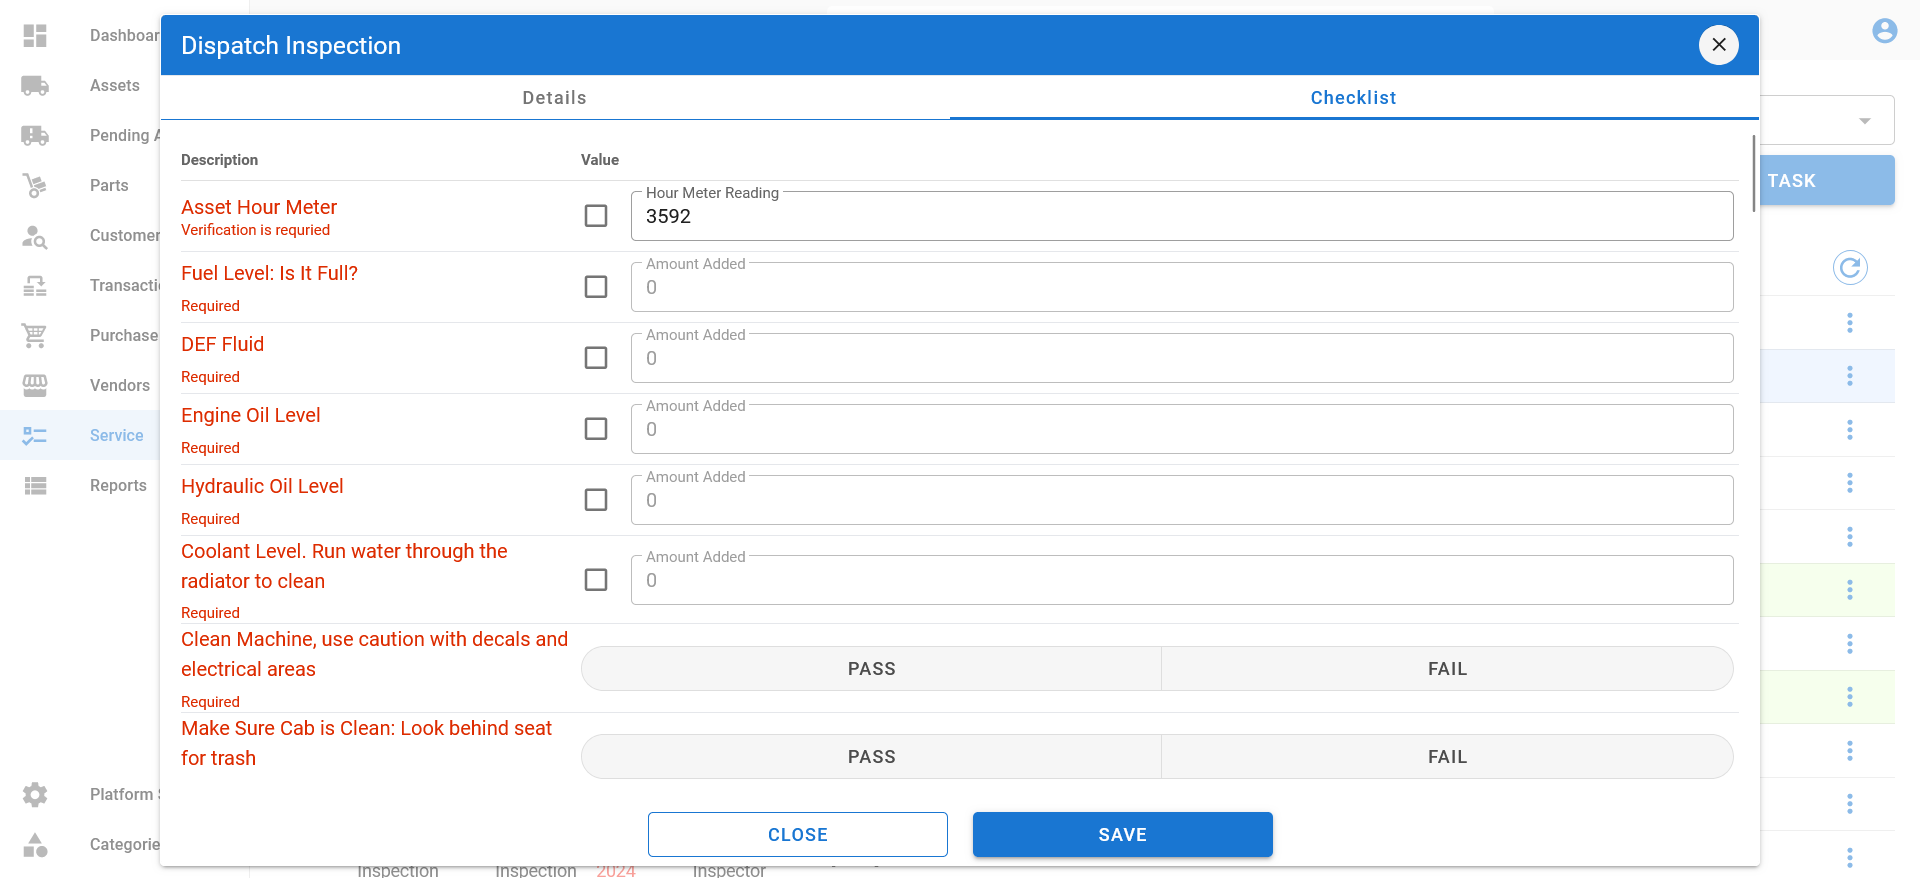
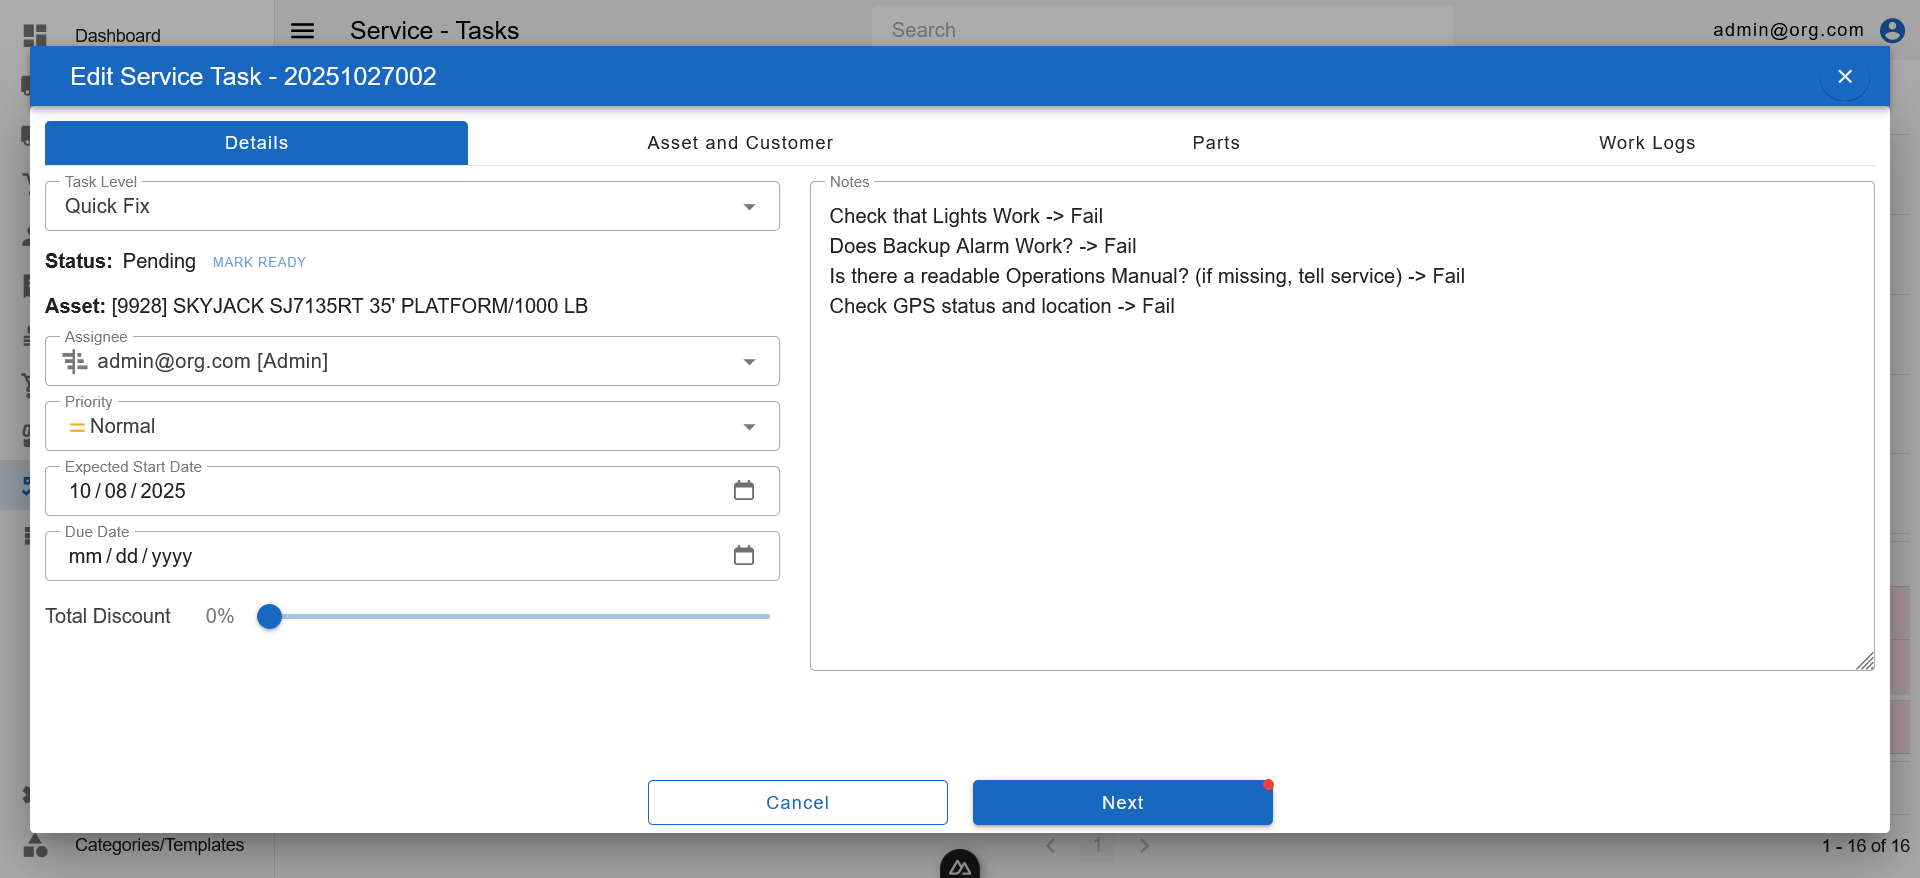
Clicking a row opens up the Inspection Popup for inspections, the Work Order Popup for work orders, and the New Asset Detail Checklist popup for NADC rows, where user can edit various details pertaining to that record.
INFO
The Work Order Popup auto-saves your changes: for a work order that's already been created, any field you edit is saved automatically in the background around 1.5 seconds after you stop making changes (shown via the Save button and a confirmation notification), without closing the popup. A work order you're still creating for the first time still requires clicking Save.
Saving Filters
A filter combination you use often can be saved and re-applied later. Once you have applied one or more filters, click the Save Filter menu, enter a Filter Name, and click Save. You can save up to 100 filters.
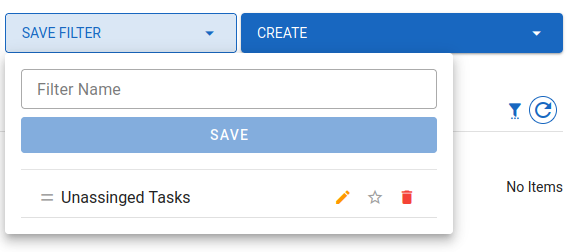
Each saved filter in the list has its own controls:
- Rename — click the pencil icon (orange) to edit the name inline, then the check icon (green) to save it (or press
Enter). - Set as default view — click the star icon to make a filter the default view shown when you open the page. The star turns blue when set, and only one filter can be the default at a time. Click it again to remove it as the default.
- Update with current view — when a saved filter is the one currently applied, a save icon appears that updates it to match your current filters.
- Reorder — drag a filter by its handle to change its order in the list.
- Delete — click the delete icon (red) and confirm to remove the saved filter.