Appearance
Additional Functions
INFO
Note: Assets can only be viewed, deleted and created by organizational users who have been granted relevant permissions

The red button featuring a trash can icon on the top far right of the Edit Asset Popup, allows for deleting the asset. On clicking the button, the user will be prompted with a confirmation message. User can choose to proceed or abort the deletion.
WARNING
Note: An asset with an active work order or an active inspection cannot be deleted. In this case, the delete button is disabled, and hovering over it shows a tooltip listing the specific reason(s) it is blocked (for example, an active work order or inspection). Attempting to delete such an asset anyway is rejected by the server.
The green button adjacent to the delete button top right of the Edit Asset Popup, allows for cloning the asset. On clicking the button, the user is prompted with a Confirm Cloning message ("Are you sure you want to clone this asset?"); choose Clone to proceed or Cancel to abort. Confirming closes the current popup and opens the New Asset Popup pre-filled with the source asset's editable fields (with a blank asset number). Nothing is created until you complete the required fields and save it as a new asset via the normal asset creation flow.
Which fields are copied is configurable. Only the fields your organization has enabled for cloning are carried over from the source asset; the rest start blank (or at their default). This is controlled per asset type (regular Assets vs Attachments and Add Ons) in the Cloning settings. See that page for the full list of fields that can be copied.
The yellow button adjacent to the clone button top right of the Edit Asset Popup, allows creating a work order against the asset. On clicking the button, the user will be redirected to the Service Page -> New Work Order Popup.
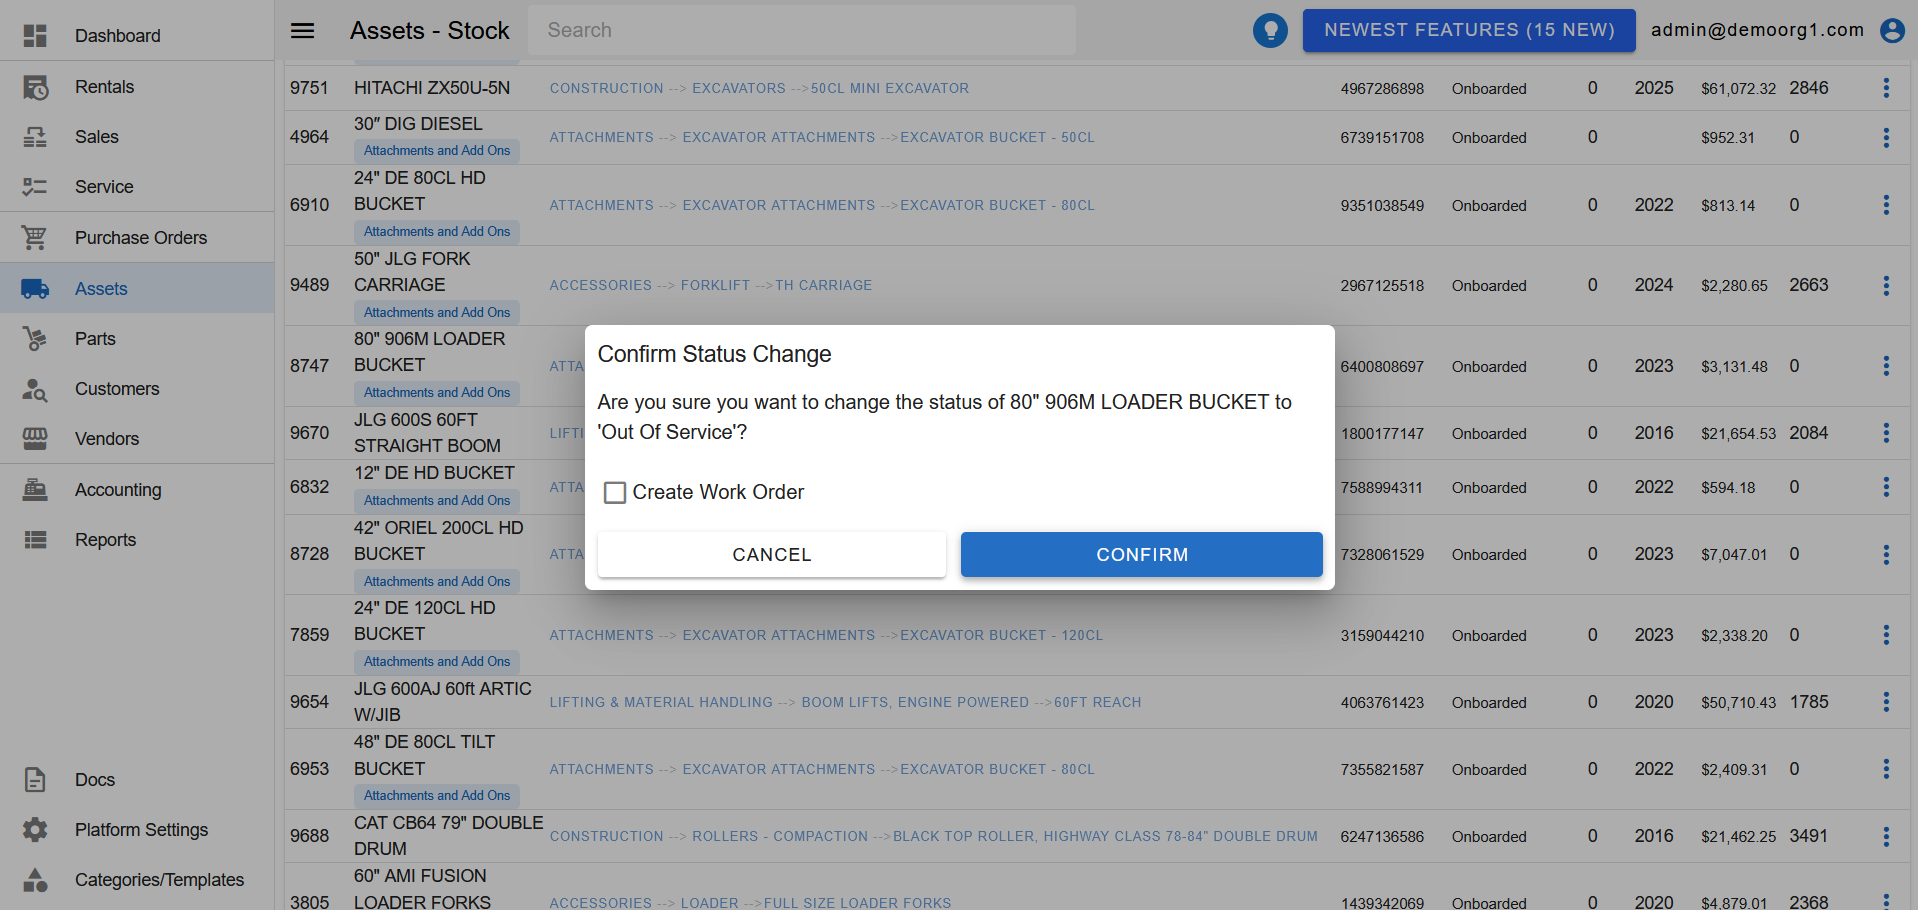
The orange button, located adjacent to the Work Order Creation button in the top-right corner of the Edit Asset Popup, allows users to toggle the service status of the selected asset between Out of Service and In Service. When clicked, the asset status will update accordingly. If the asset is currently In Service, clicking the button will mark it as Out of Service. If the asset is currently Out of Service, clicking the button will return it to In Service.
Clicking the Mark out of Service opens the prompt which has a field to create work orders; upon checking that field and confirming the status, a new work order is made against the asset.
The Edit Asset Popup also offers a Sell This Asset action for putting the asset on a sale. It gives two choices: add the asset to an existing open sales quote, or start a New Quote with the asset already added. Either choice opens the sales order popup with the asset in place, ready to continue the sales quote flow.
History Tab
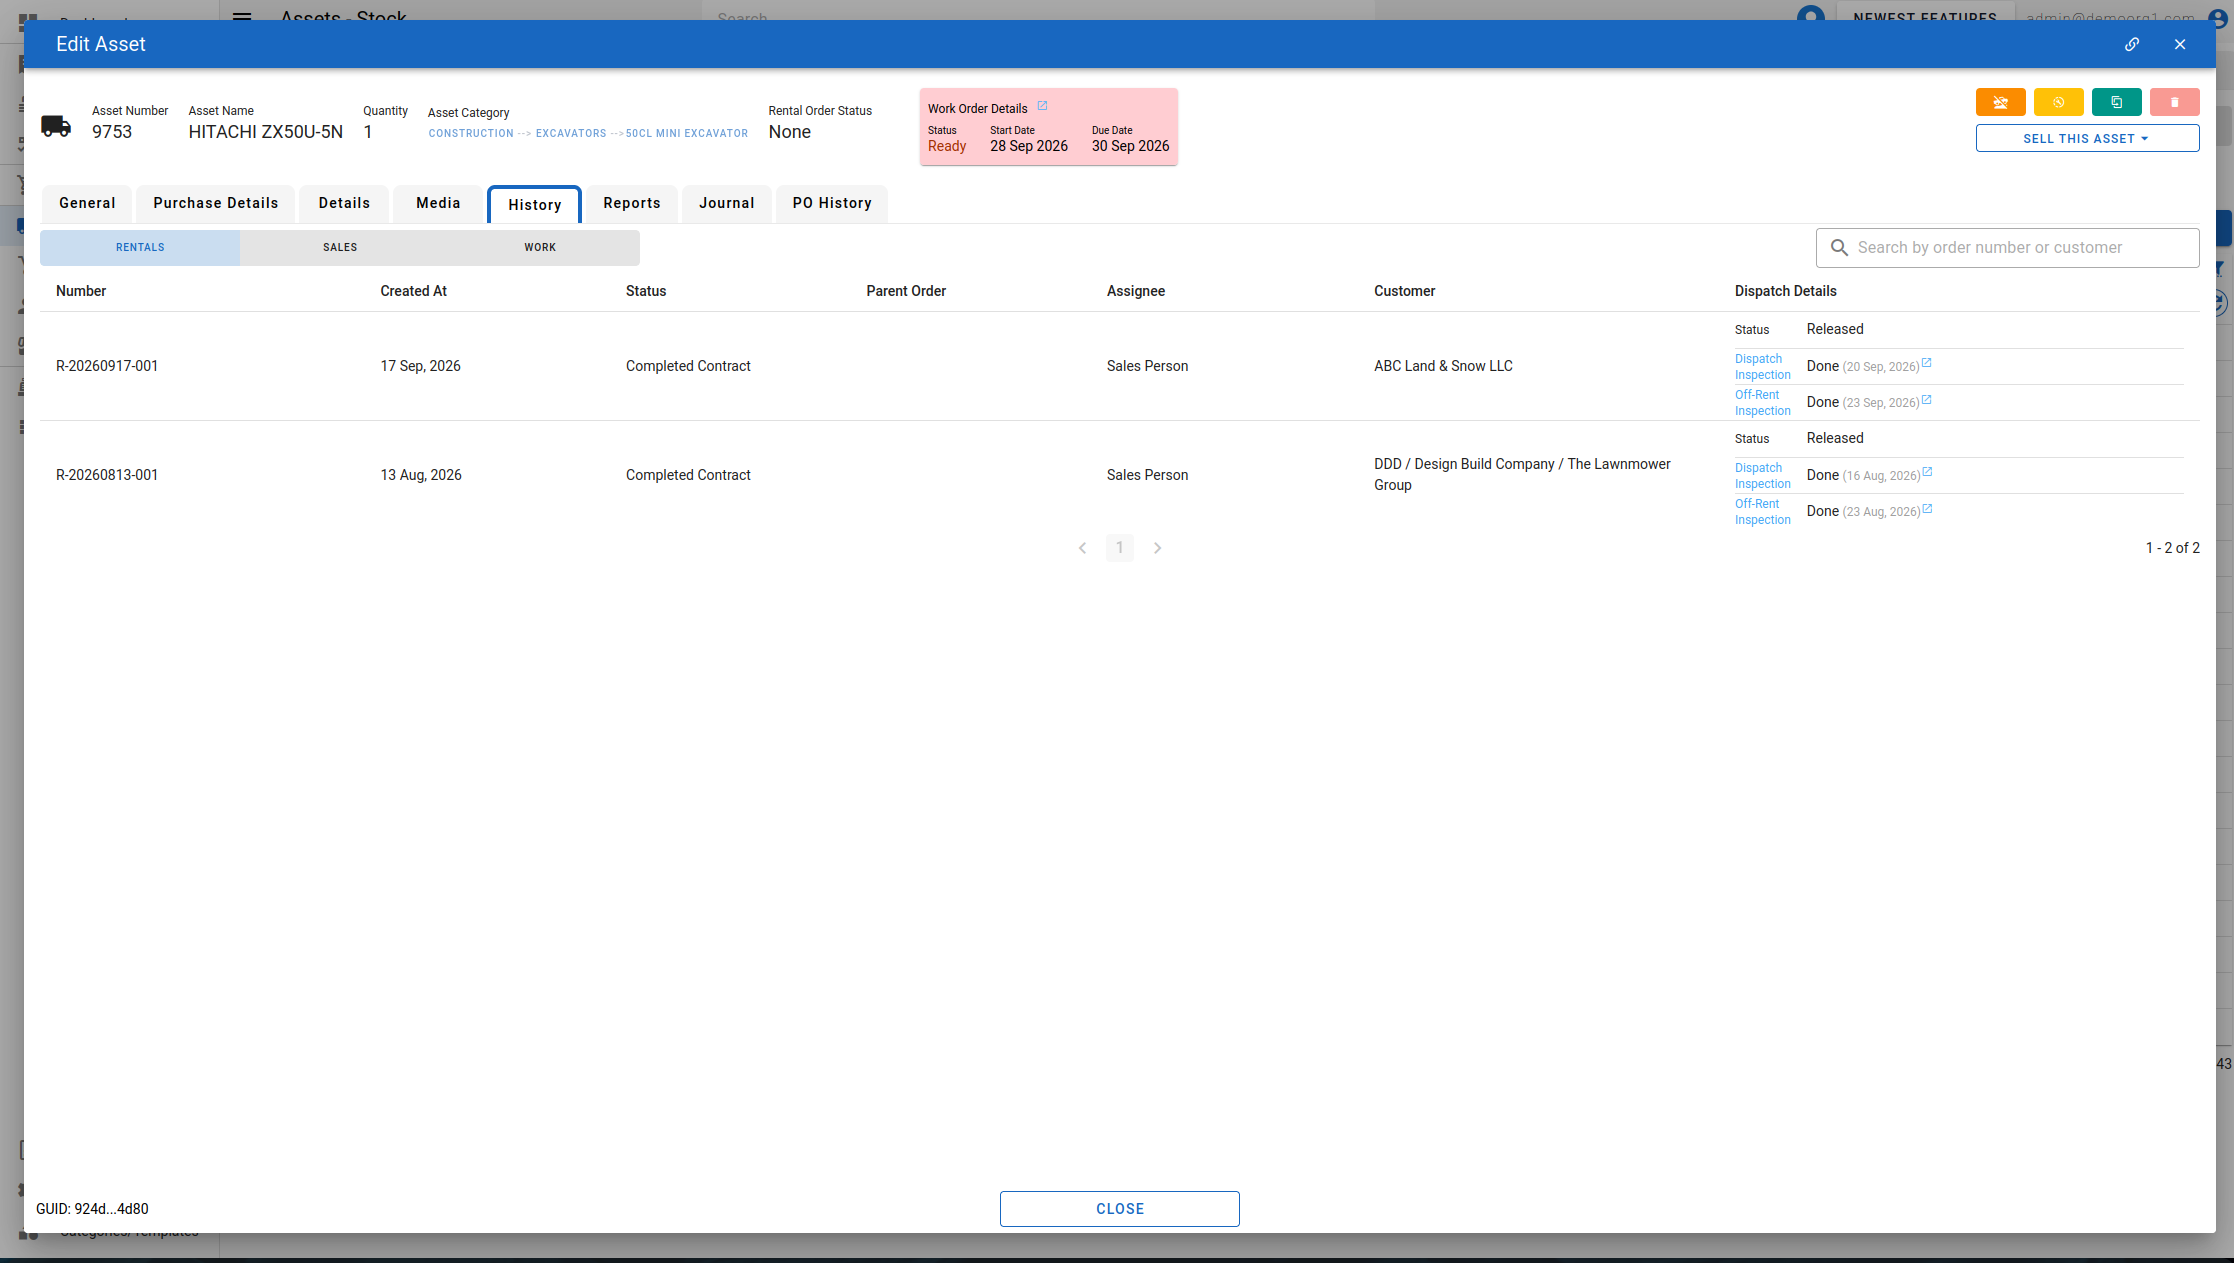
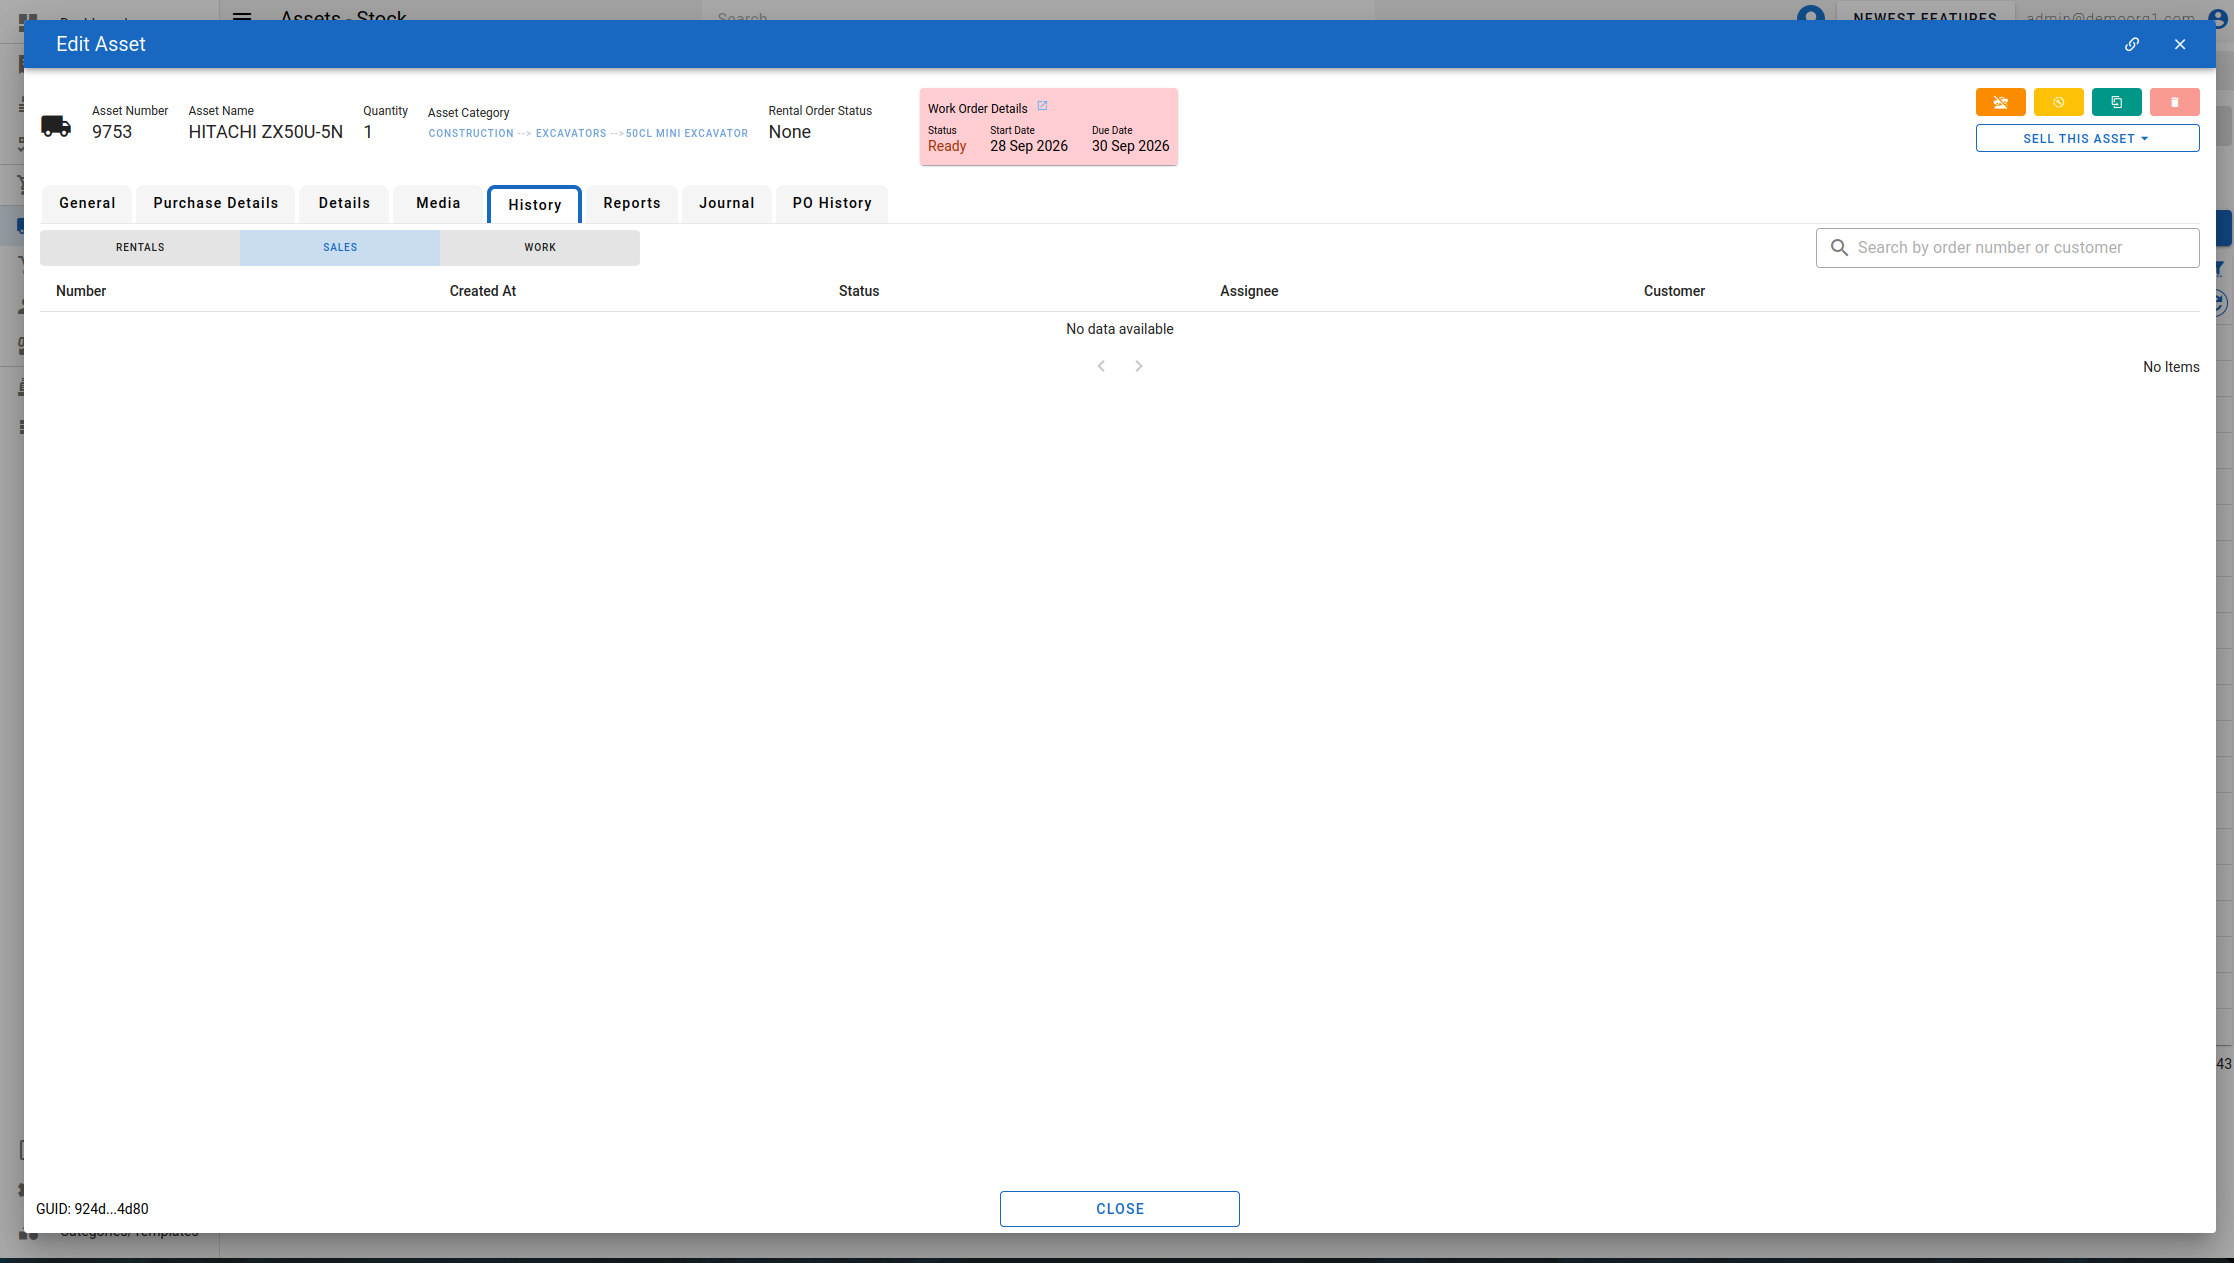
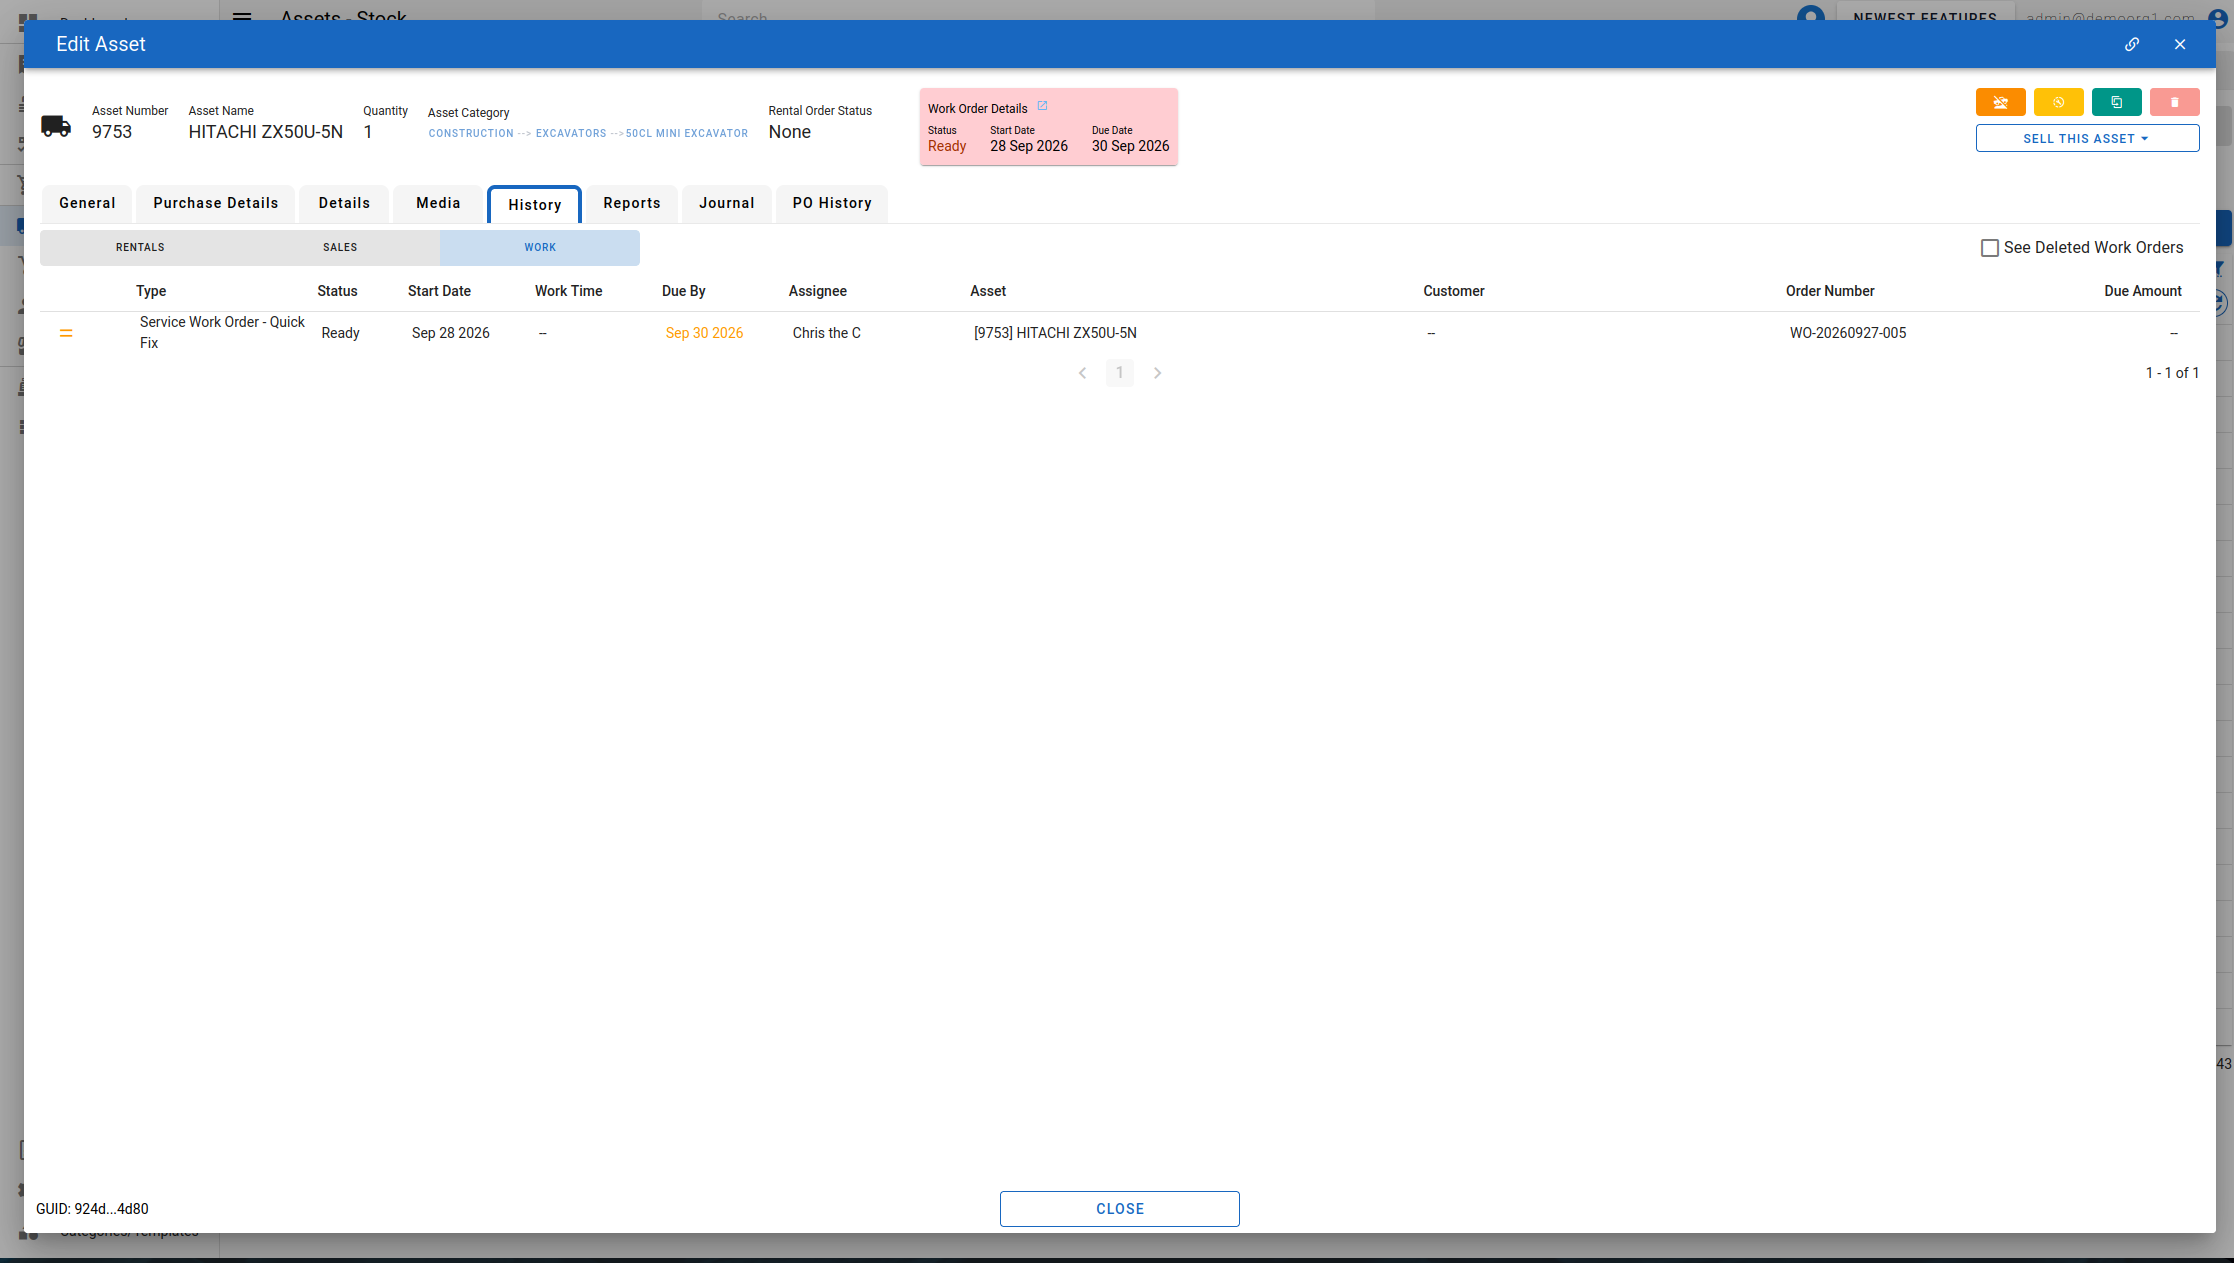
The History tab lists the asset's order and work order history, split into three sub-tabs — Rentals, Sales, and Work — each shown only when you've been granted its own permission (a separate permission per sub-tab, for rentals, sales, and work orders respectively). The History tab itself is hidden if none of the three are granted, and a user with only one or two of the permissions sees only the matching sub-tab(s).
The Rentals and Sales sub-tabs list the asset's rental and sale orders respectively, with columns for Number, Created At, Status, Parent Order (Rentals only), Assignee, Customer, and Dispatch Details (Rentals only). Each of these two sub-tabs has its own search box, filtering by order number or customer company name. Clicking a row, or the order number link directly, opens the order in place (as a popup).
The Work sub-tab lists the asset's work orders and inspections, with a See Deleted Work Orders checkbox to include deleted ones (shown struck through). Clicking a row opens the work order or inspection in place (as a popup). Each row also has a context (kebab) menu with quick actions — see Work Order Actions From An Asset's History.
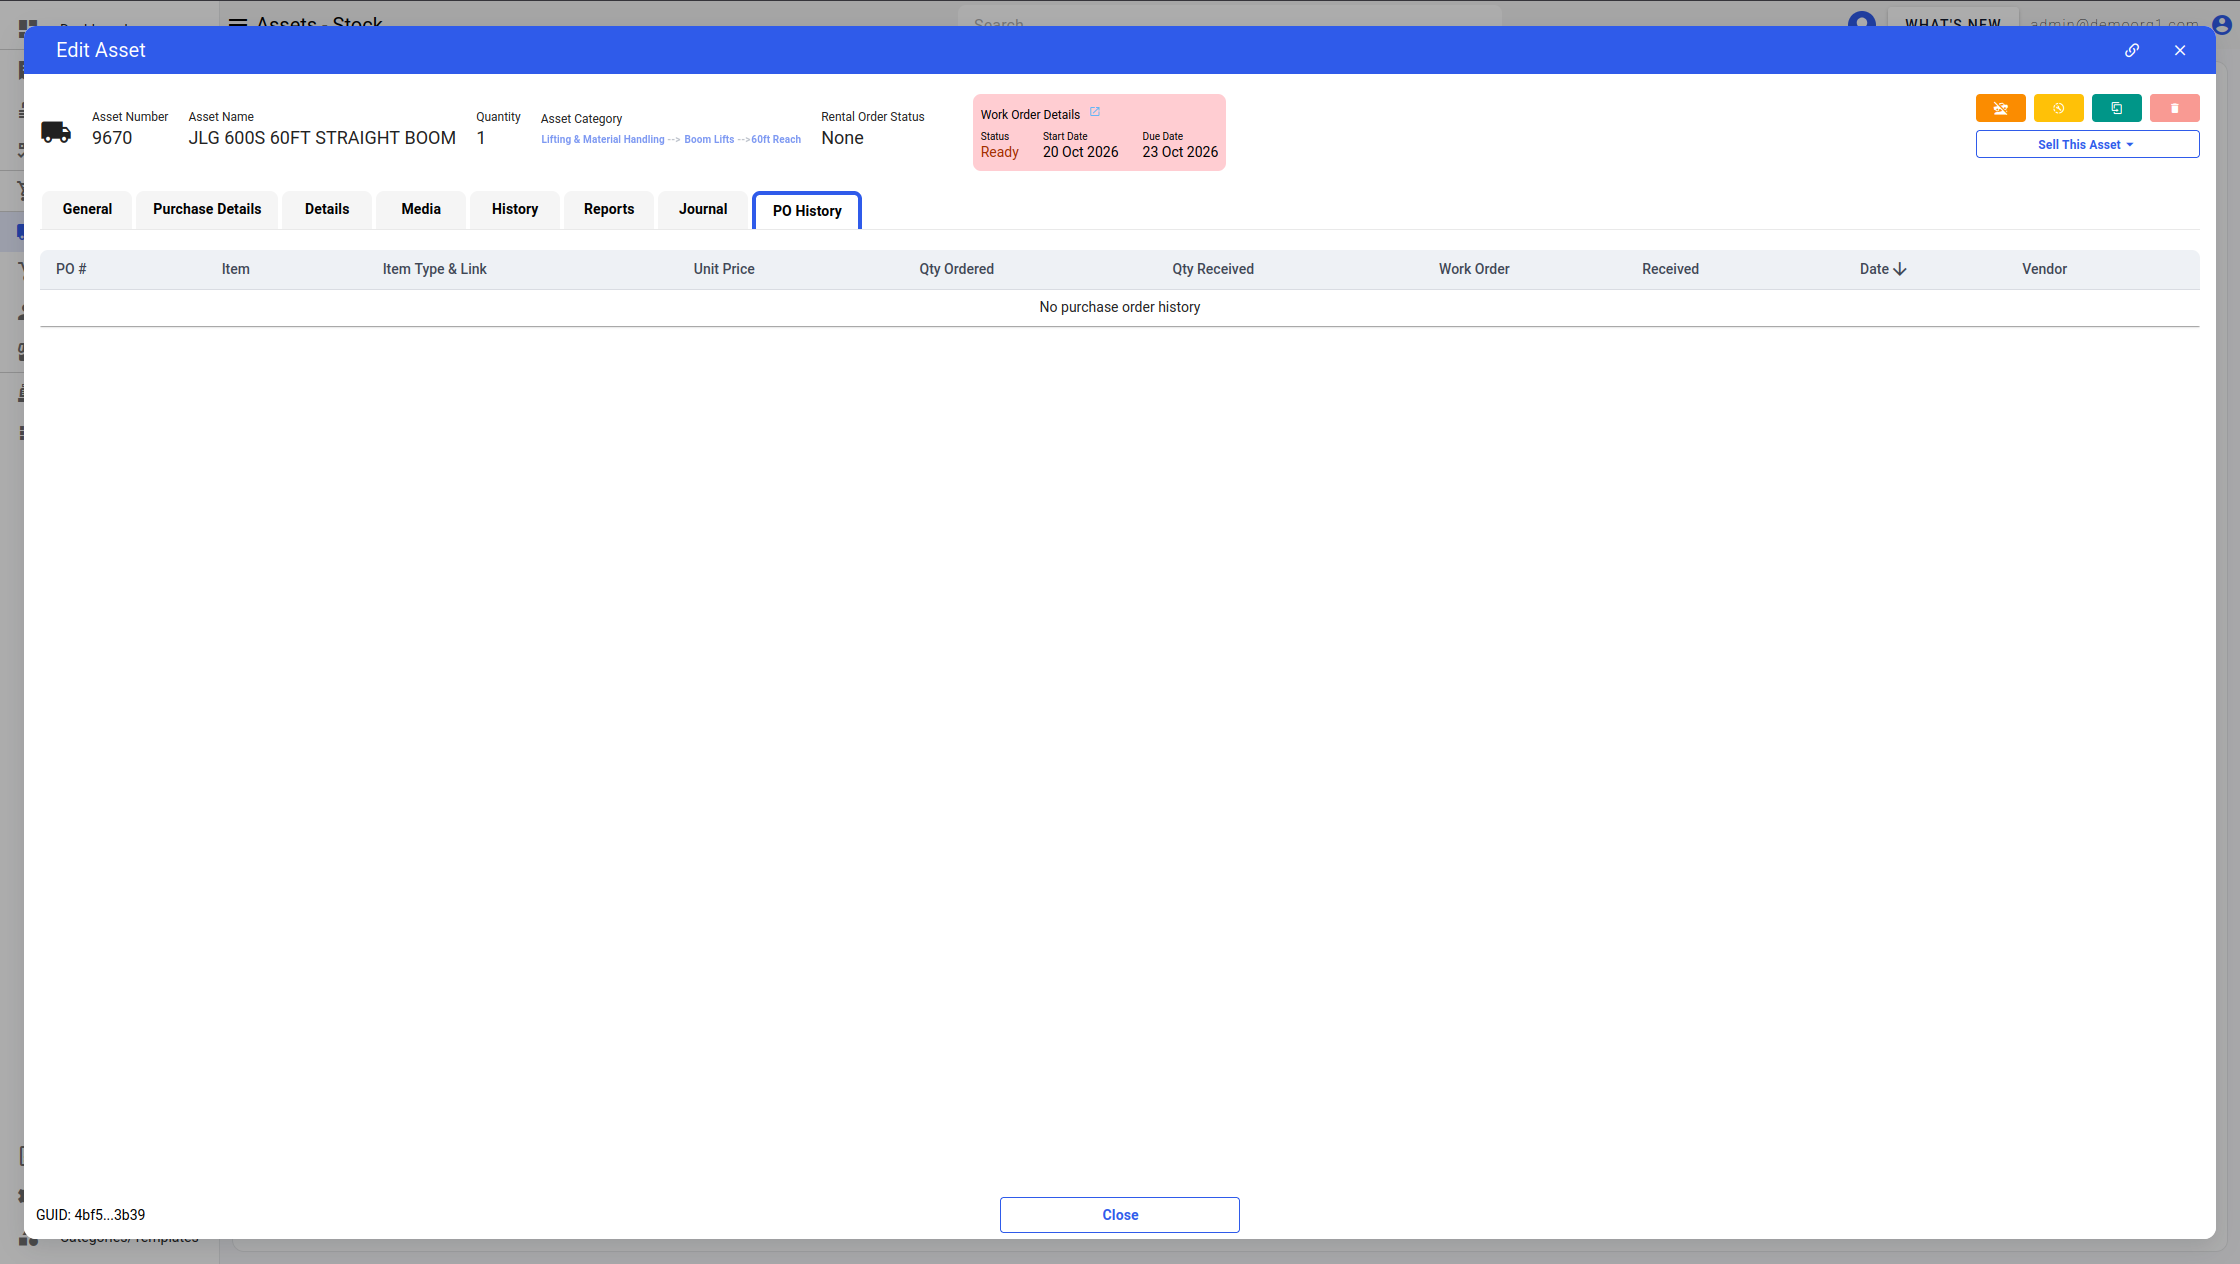
PO History Tab
The PO History tab (available to users with purchase-order view permissions) lists every purchase order this asset has appeared on. The table has these columns:
| Column | Description |
|---|---|
| PO # | The purchase order number (or --). |
| Type | The item type on the PO line. |
| Item Type & Link | How the asset relates to the line — Purchased (the asset itself was bought on the PO), Bought for asset (a part/custom item bought against the asset), or Via work order (allocated through a work order). |
| Item | The part or item on the PO line. |
| Work Order | The work order the line was allocated to, when applicable. |
| Unit Price | The price recorded on the PO line. |
| Qty Ordered | Quantity ordered. |
| Qty Received | Quantity received. |
| Received | Date received (or --). |
| Date | The PO date (newest first by default). |
| Vendor | The vendor on the purchase order. |
Rows are clickable — clicking one opens that purchase order. When the asset has never been on a purchase order, the tab shows "No purchase order history".